A Few Recent Projects!

A Baby Quilt
Quilted picnic tableware
Fabrics for a Bargello quilt design
Handmade Crib Quilt
Quilted picnic tableware
Bargello quilt
Quilting An idea

Past Projects

The projects I started with; a patchwork pieced square done from a tube, a pin cushion which I filled with ground walnut husks and lavender, and a pieced and quilted table runner. 

Challenges

I am still learning my way around my new sewing machine–fantastic machine, but still much to learn!
Sewing an exact 1/4″ seam every time isn’t as easy as it sounds, and learning how to cut things exactly straight and square is paramount to success. I did my first attempt at “quilting in the ditch” using a walking foot and I learned how to make mitered corners for the binding when I made the table runner.
I ran into a little complication when it came to working with bias and keeping things square and straight so there is a little pucker on the edge of the finished Friendship Braid Table Runner….shhhh, don’t tell anybody.

EAI April Newsletter

Friendship Braid Quilted Table Runner

Quilting An Idea
Quilting An Idea
Quilting An Idea

My First Pieced Square

Quilting An Idea
Quilting An Idea
Quilting An idea
Quilting An idea

Quilted Bowl Cozies

Step-By-Step Instructions

Make these microwaveable bowl cozies that go in the microwave with bowls in them so that you can remove the hot dishes without burning your hands. I also use mine to set my teapot full of hot tea into to help keep the tea hot longer. They are also perfect for serving bowls of hot soups, chilis and stews for those times you don’t want to sit around a table.

It is critical that you use 100% cotton fabric, batting and threads in the construction of these so that there is no risk of melting or causing a fire.  These are also reversible so you can have fun mixing and matching. I started with making squares of different fabrics and then graduated on to patchwork piecing them for even more interest. (Also a great way to try out different patchwork designs before committing to making a something bigger).

Supply list:

  • Poster board or card stock 
  • 100% cotton batting
  • 100% cotton fabric
  • 100% cotton thread
  • Rulers/measuring tape
  • Fabric markers
  • Sewing machine
  • Punching tool
  • Iron
Quilting

On each square of batting, transfer the markings from your template using a vanishing ink fabric marker or tailor’s chalk. Place the template on top of a batting square, aligning all the edges and place the tip of your fabric marker through each hole on the template, marking the batting in the process. 

  1. Pick up a fabric square and a batting square. Place the batting on the wrong side of the fabric, aligning all the edges. Sew across each square starting at the center marking, through the mark from the edge, to the opposite side. Repeat so you have sewn across both sides of the fabric forming a cross that intersects in the center of the square. 
  2. Sew from each corner to the opposite corner for added quilting. Without putting the batting and fabric square down, fold the fabric so the right sides of the fabric are together along one of the first quilting lines. Sew from the marking that is one inch from the top center marking to the center marking that is several inches from the edge, creating a dart. Although you do not usually back-stitch  at the end of a dart, in this case, the back-stitched darts secure the pointed end of the dart, as the batting absorbs any bulk that the back-stitching may create. Plus it is much faster than tying off the thread ends. Without unfolding the fabric, sew the dart on the opposite edge of the fabric. Unfold the fabric and fold the other quilted line. Repeat to sew the darts in the ends of the remaining sides of the fabric.
  3. With the fabric sides up, press all of the darts in one direction. Working with the fabric up and the cozy indented allows you to flip the bowl so you work your way around the edge of each cozy. Trim each dart to 1/4-inch seam allowance. After the darts are trimmed, nest each one with the chosen opposite side so that you will have them together for the next step.
Quilting

Instructions for 10-inch, 12-inch and 14-inch templates:

  • For a 10-inch square: mark 4, 5, and 6 inches from the ends on each side, and 2 1/4 inches toward the center of the square at the center 5-inch mark.
  • For a 12-inch square: mark 5, 6, and 7 inches from the ends on each side, and 2 1/2 inches toward the center 6-inch mark.
  • For a 14-inch square: mark 6, 7, and 8 inches from the ends on each side, and 2 3/4 inches toward the center 7-inch mark.

Using a punch tool, punch the marks you have made on the square, with the edge marking holes about 1/4 inch from the edge.

For each bowl cozy you will need to cut out two fabric squares and two batting squares. 

Assembling the cozies

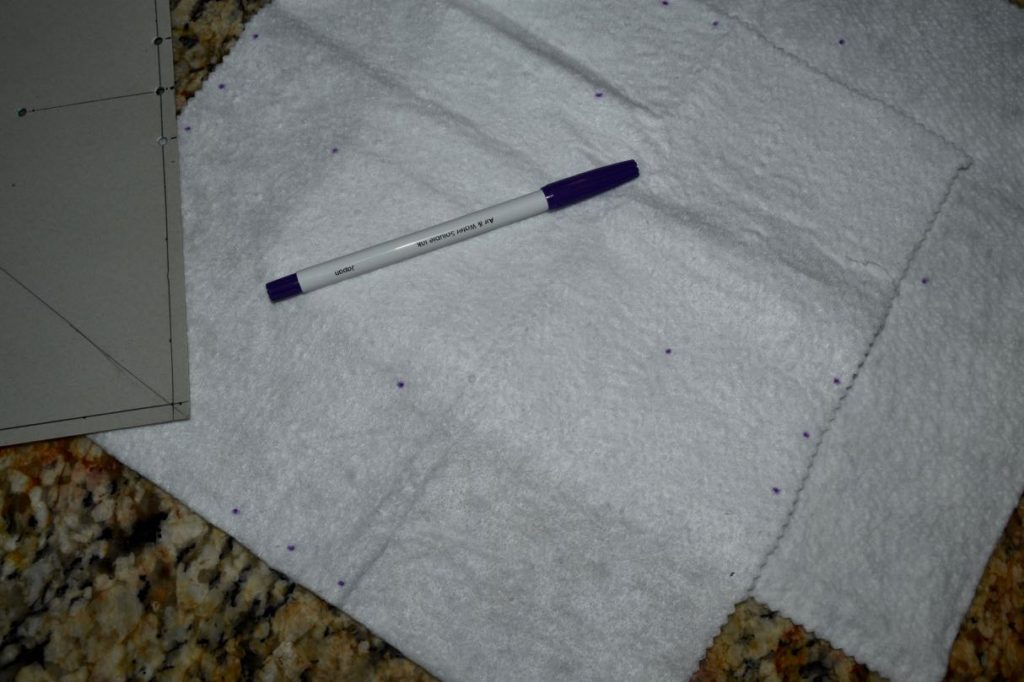
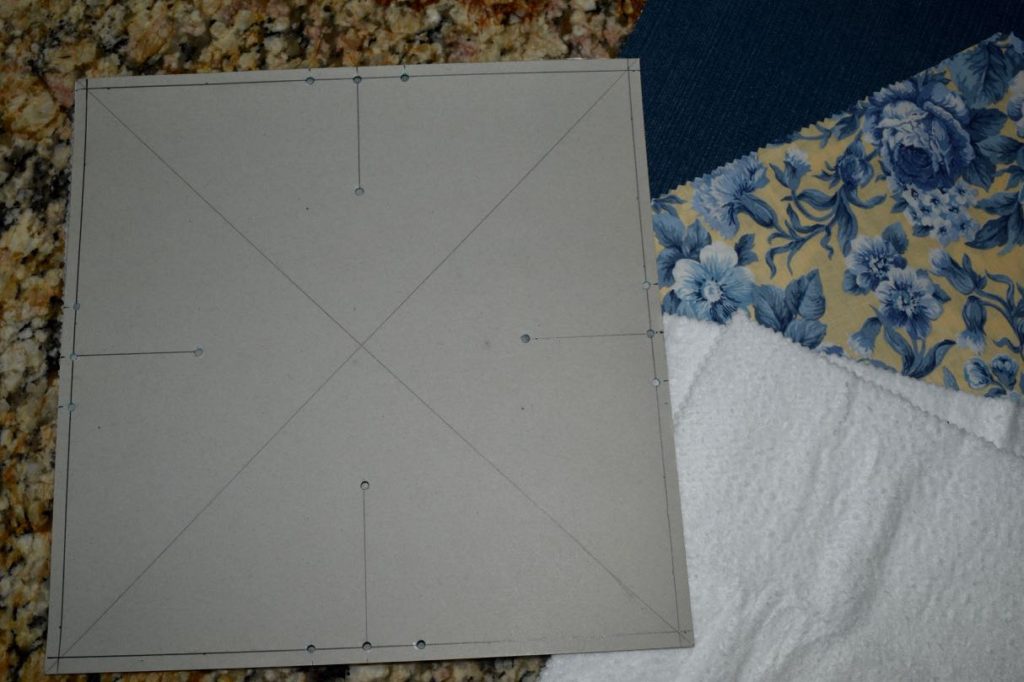
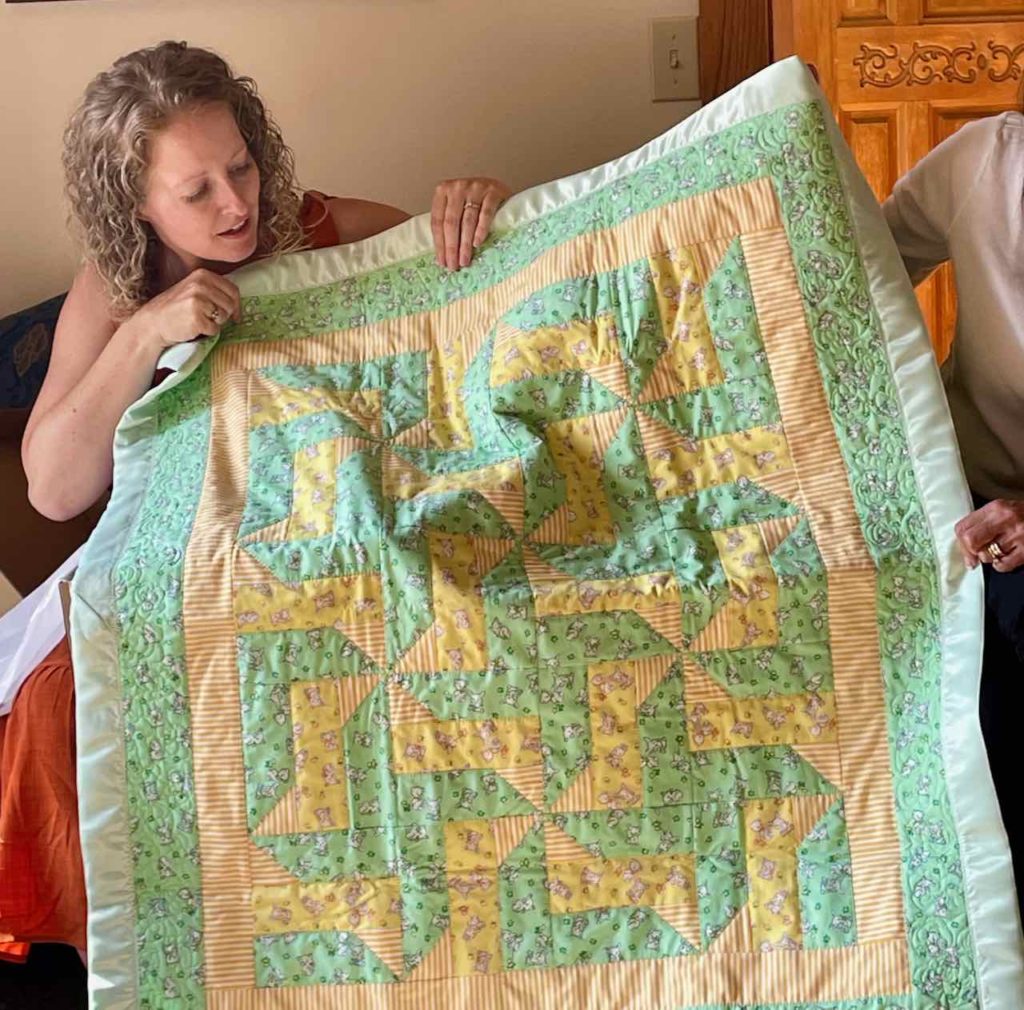
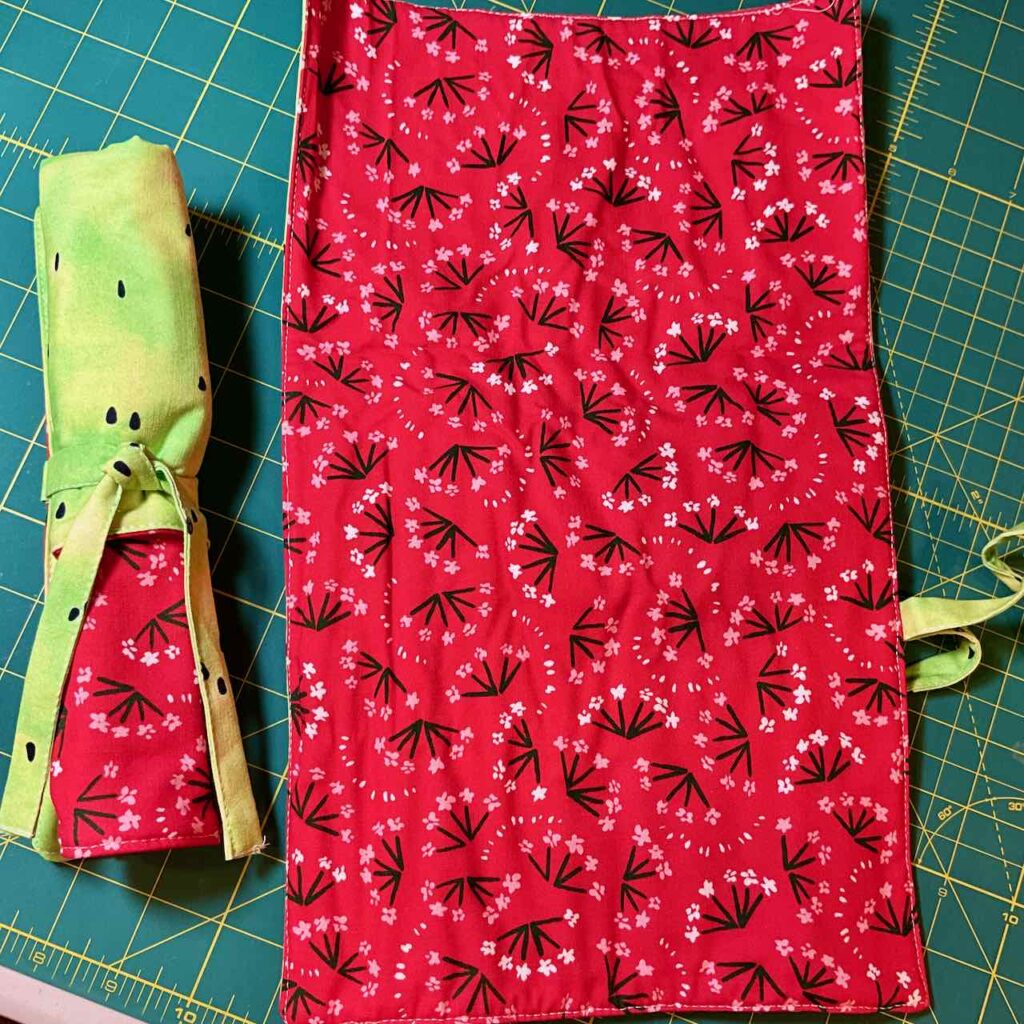
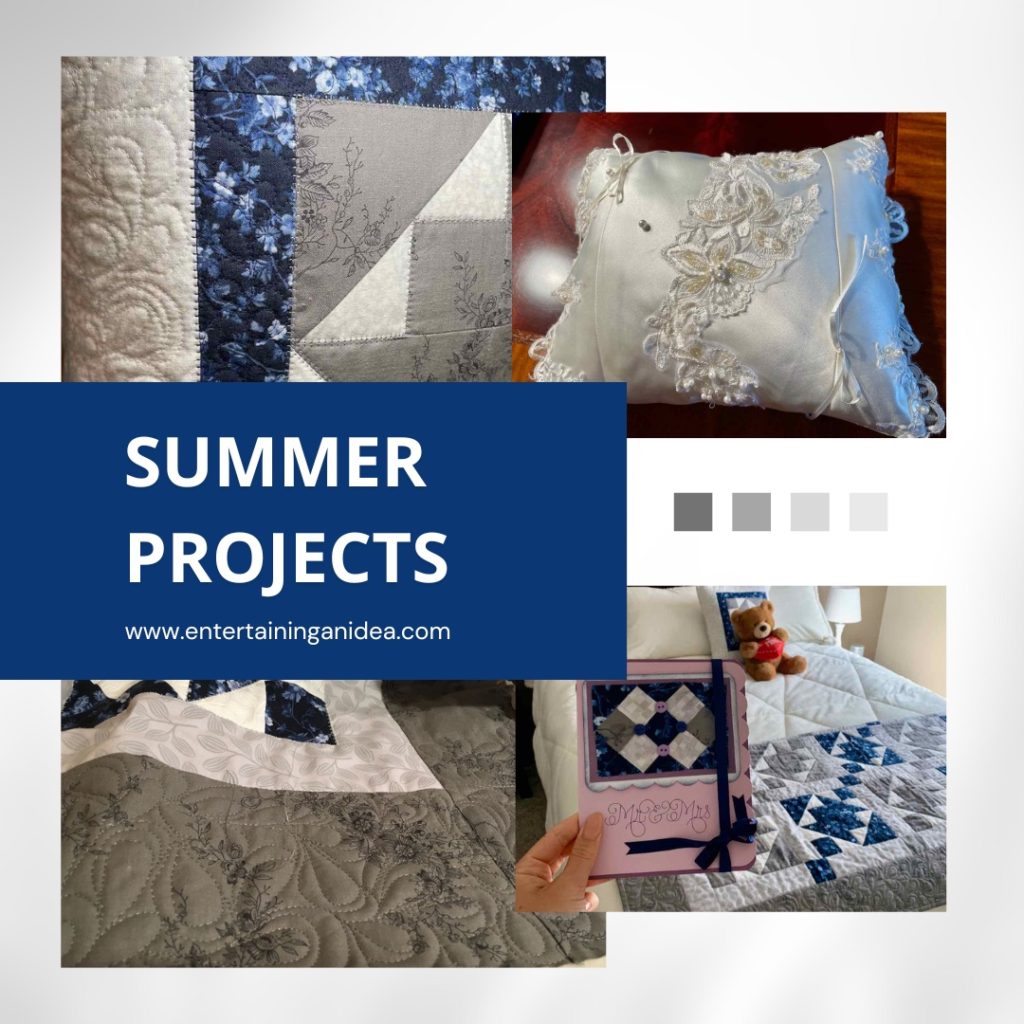
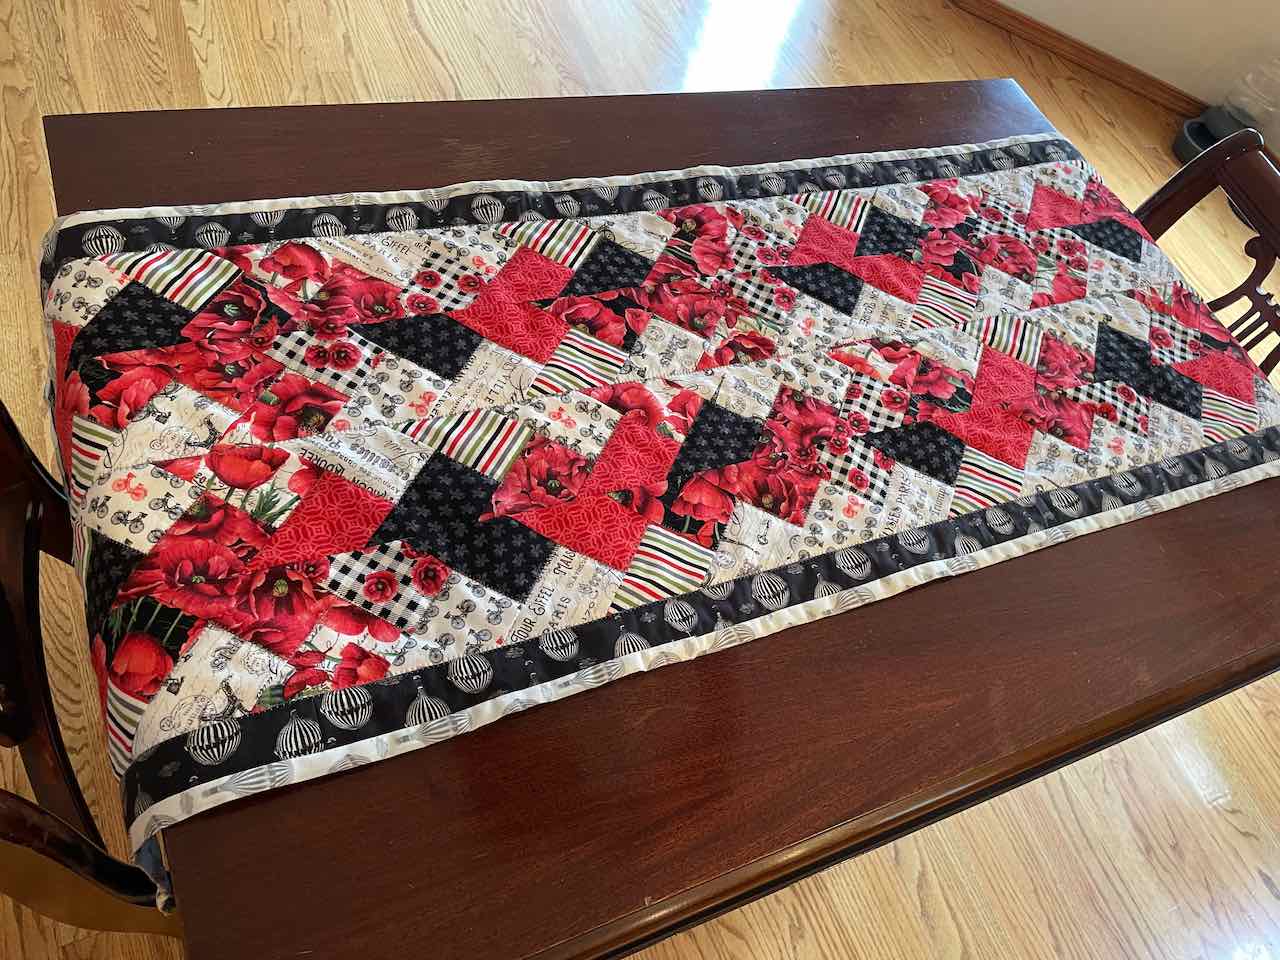
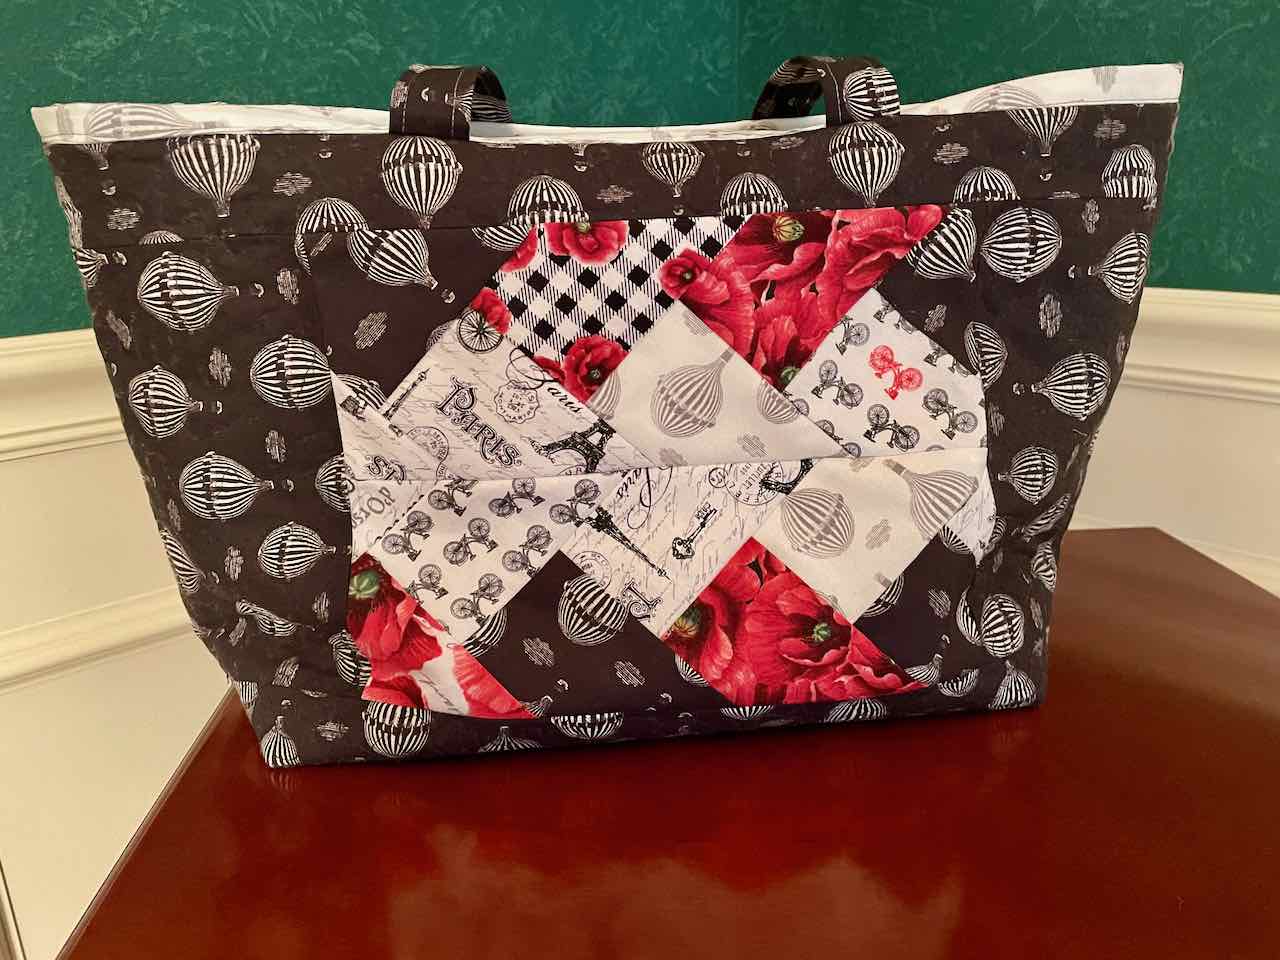
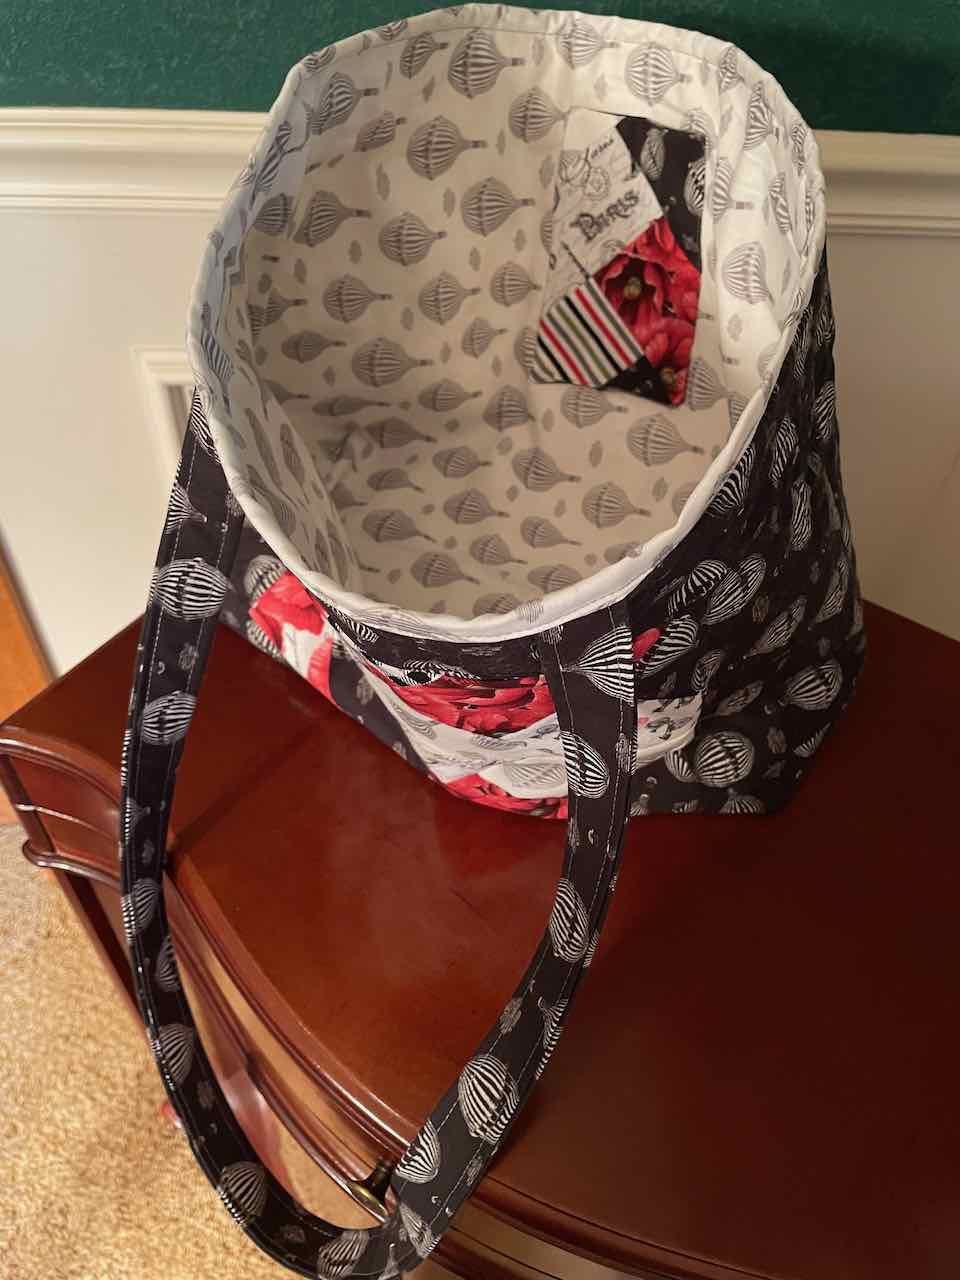
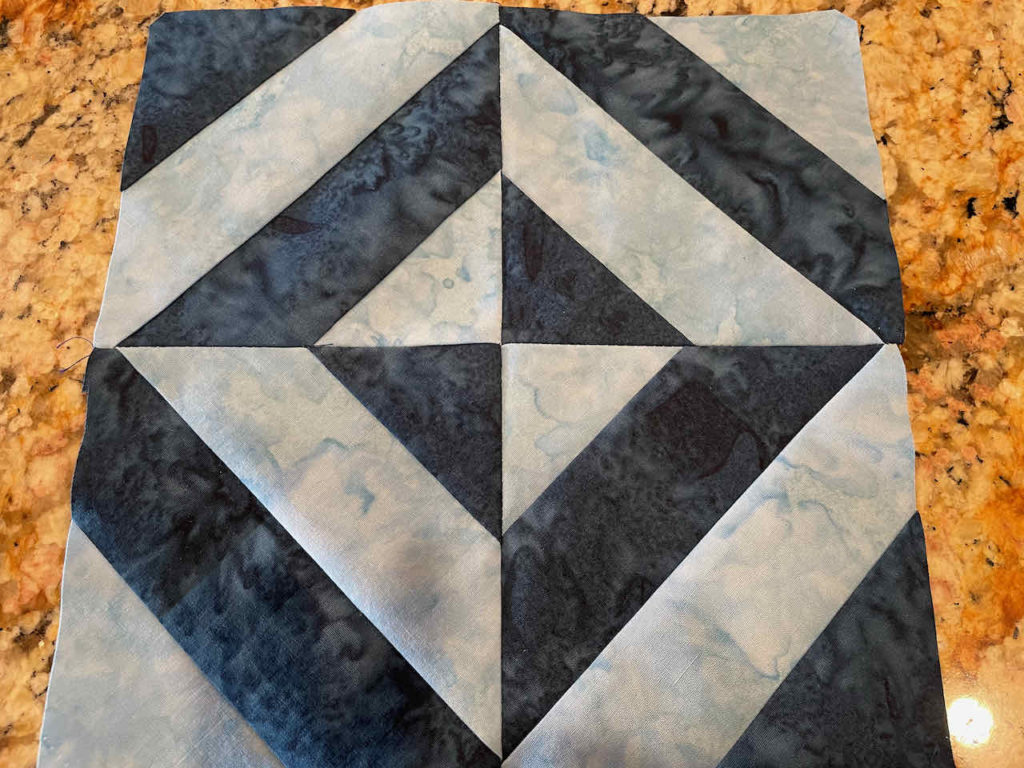
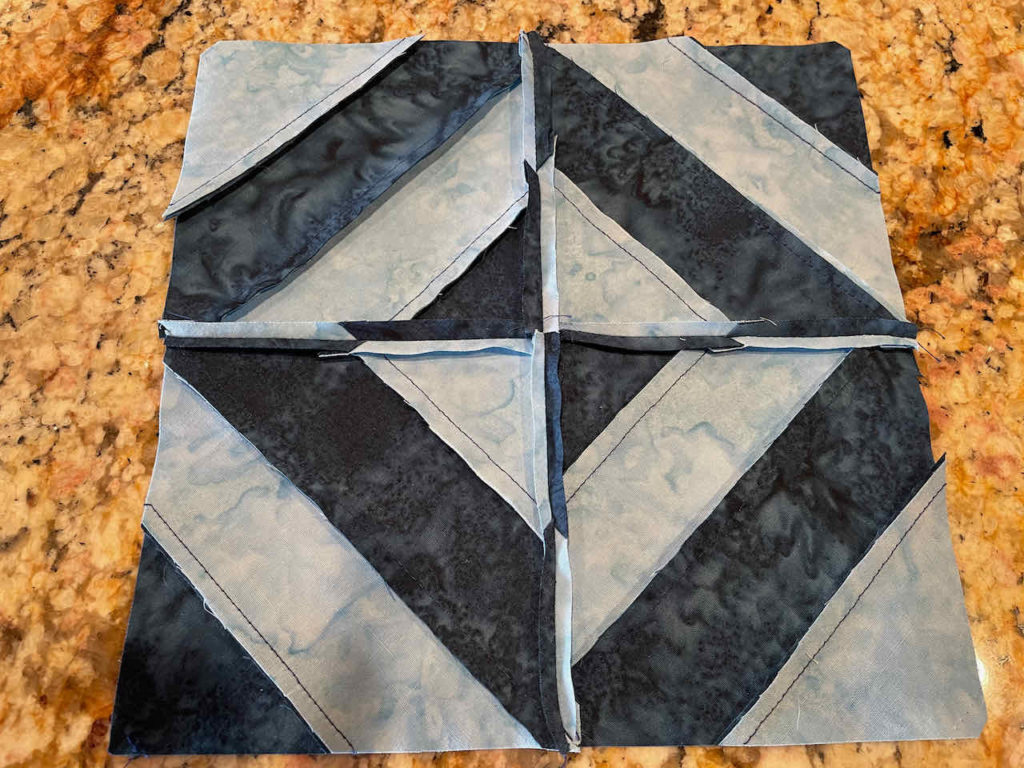
Place two quilted pieces with the fabric right sides together. Using straight pins, match the darts and align the remaining edges. Pin together. Start sewing on one edge of a cozy just before a dart, using the pressure foot as a seam guide for approximately 1/4-inch seam allowance. Sew around the edges, pivoting at the corners and stopping just past the last corner so that there is an opening to turn them right sides out. Trim the corners of each cozy. Continue sewing the sets until they are all complete.

Turn each cozy right side out. Using a tool such as a letter opener that is not sharp, push out the corners on each cozy. Return to the iron and press, opening the seams. Where the opening is, press so that the seam allowance is tucked in and pressed under evenly as if it was sewn. 

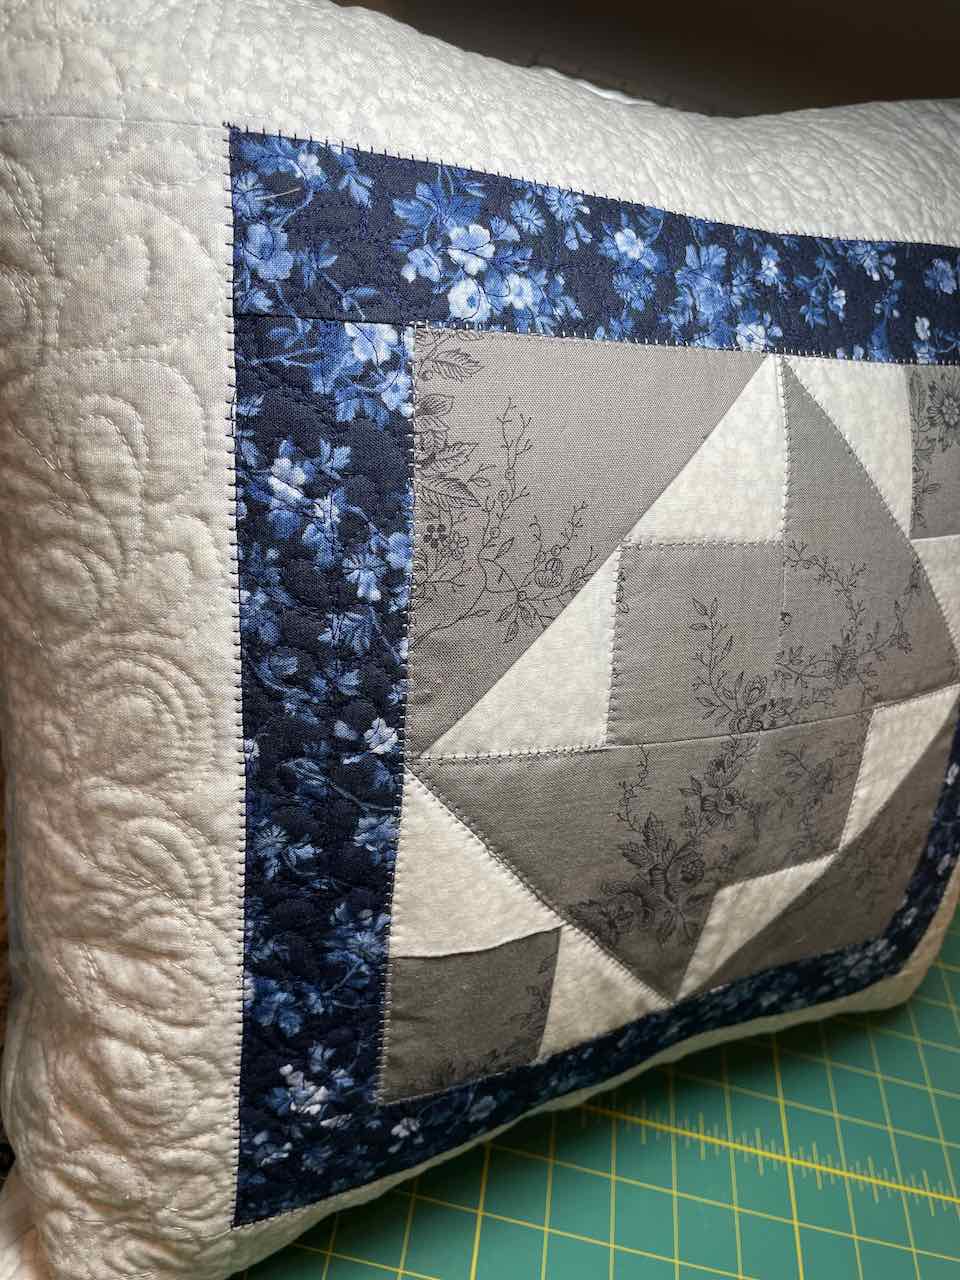
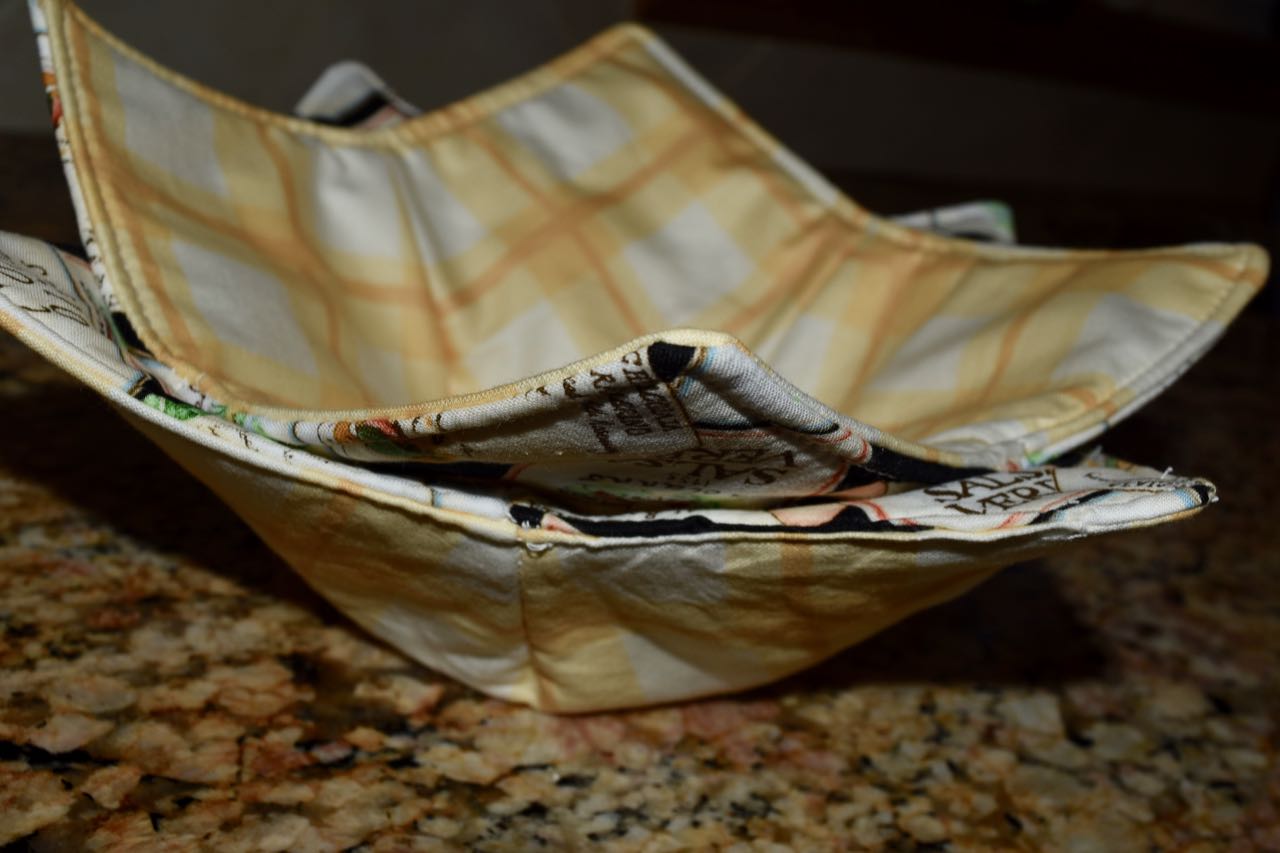
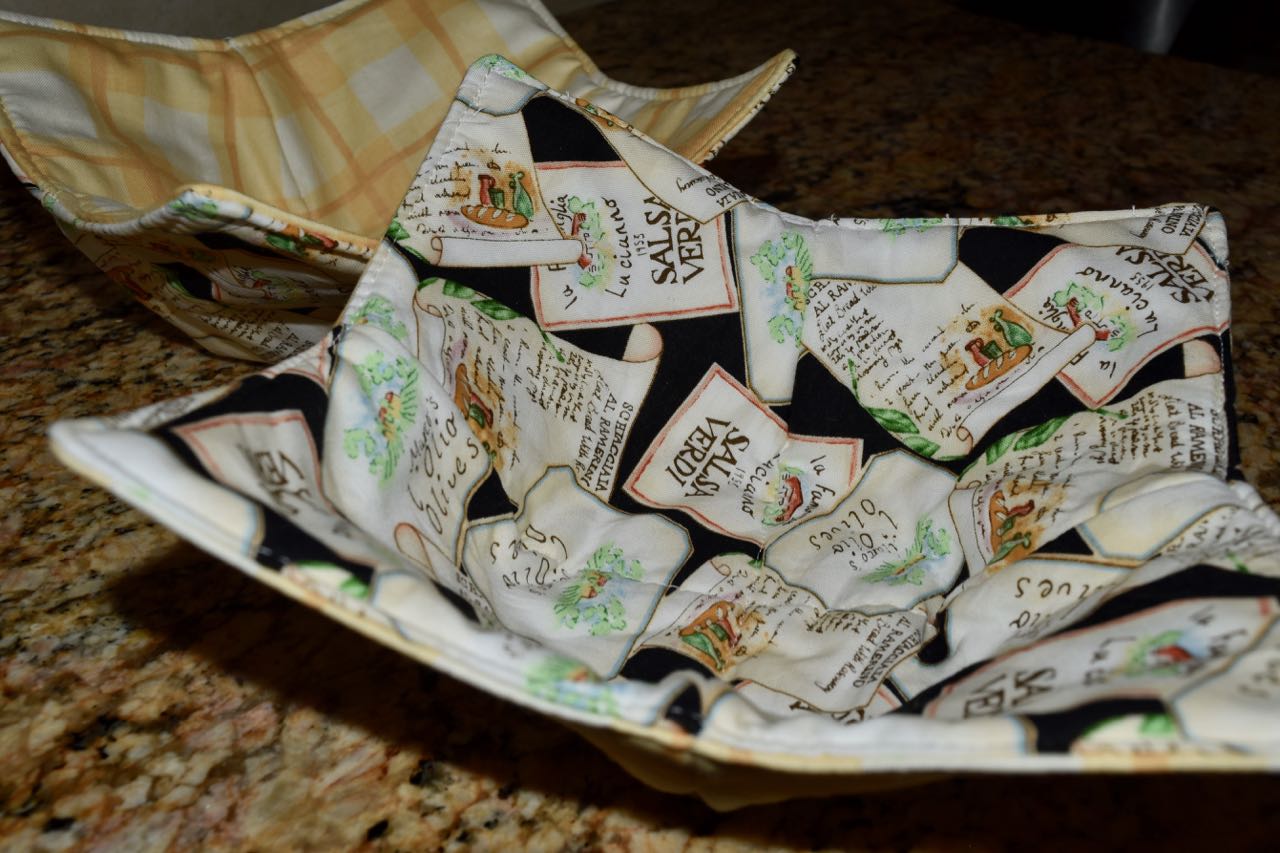
Return to the sewing machine. Topstich the entire top edge of each cozy, close to the edge so that the opening is sewn closed and the entire top edge is held in place with the seam at the very edge. 

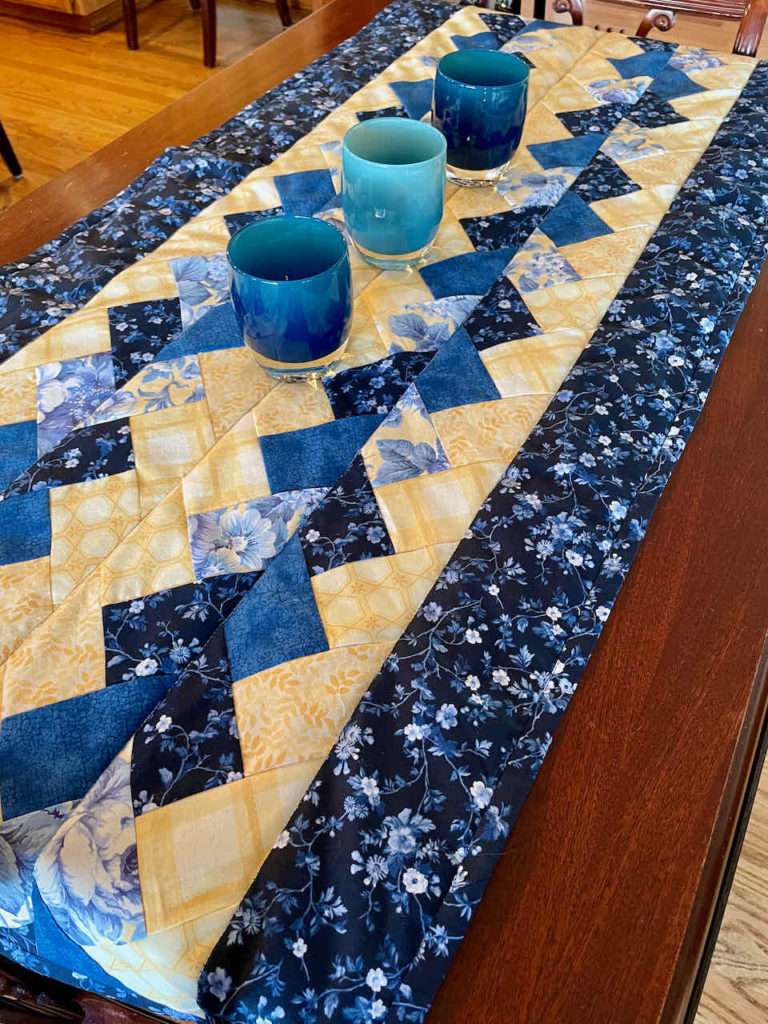
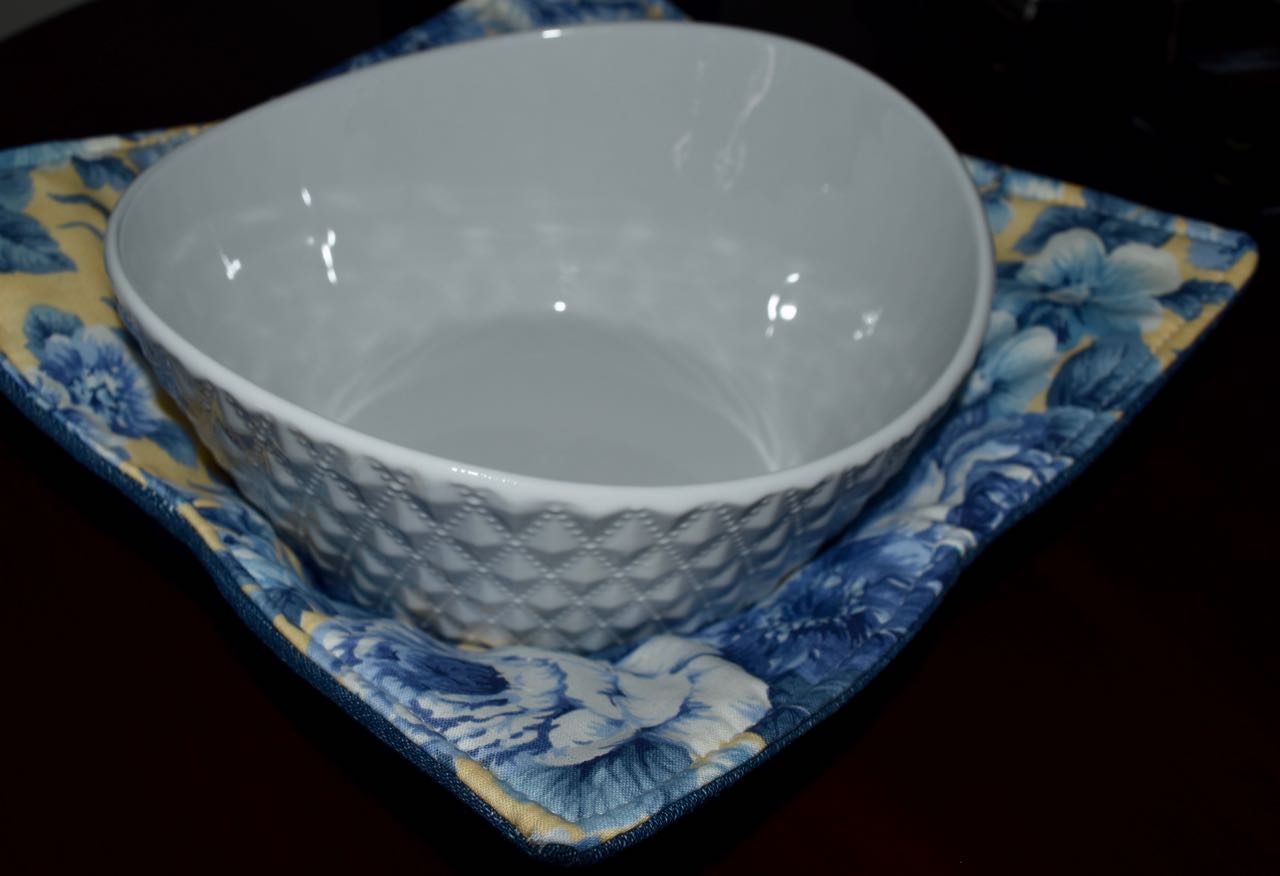
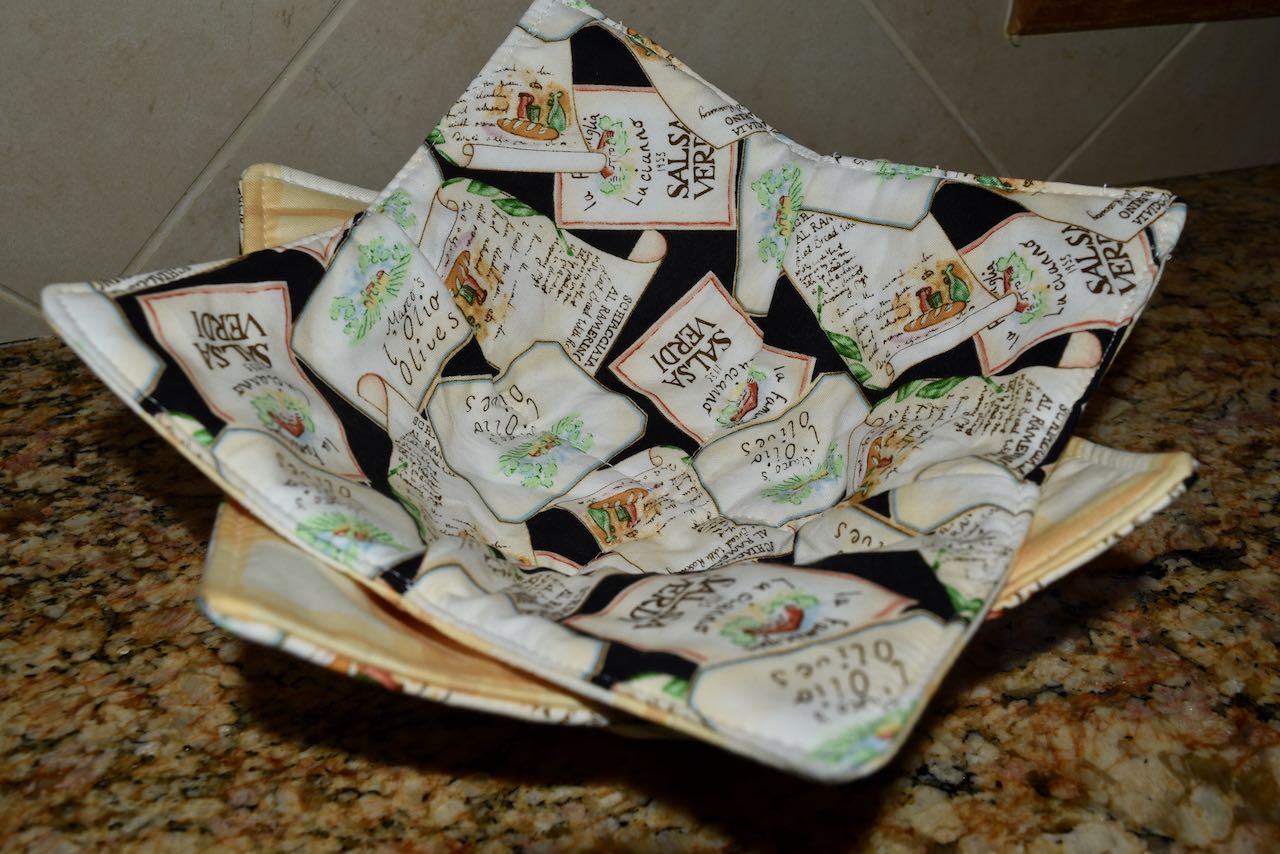
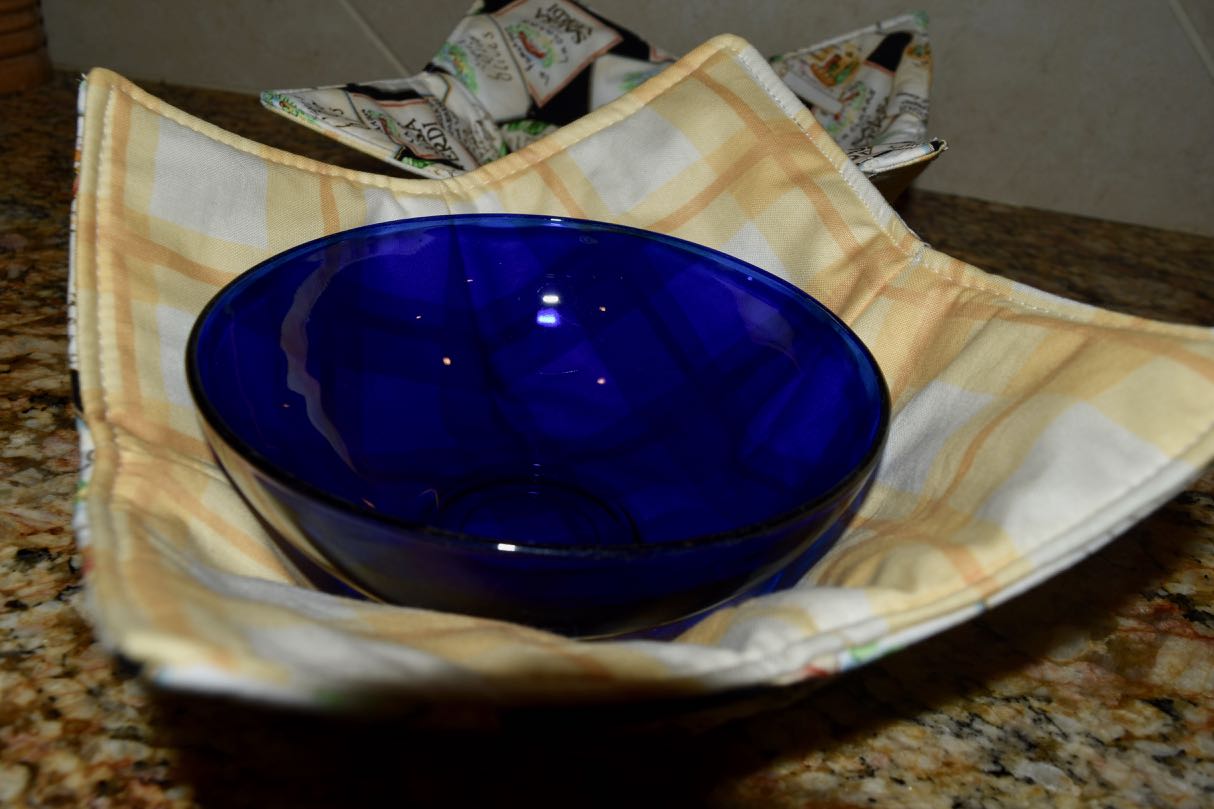
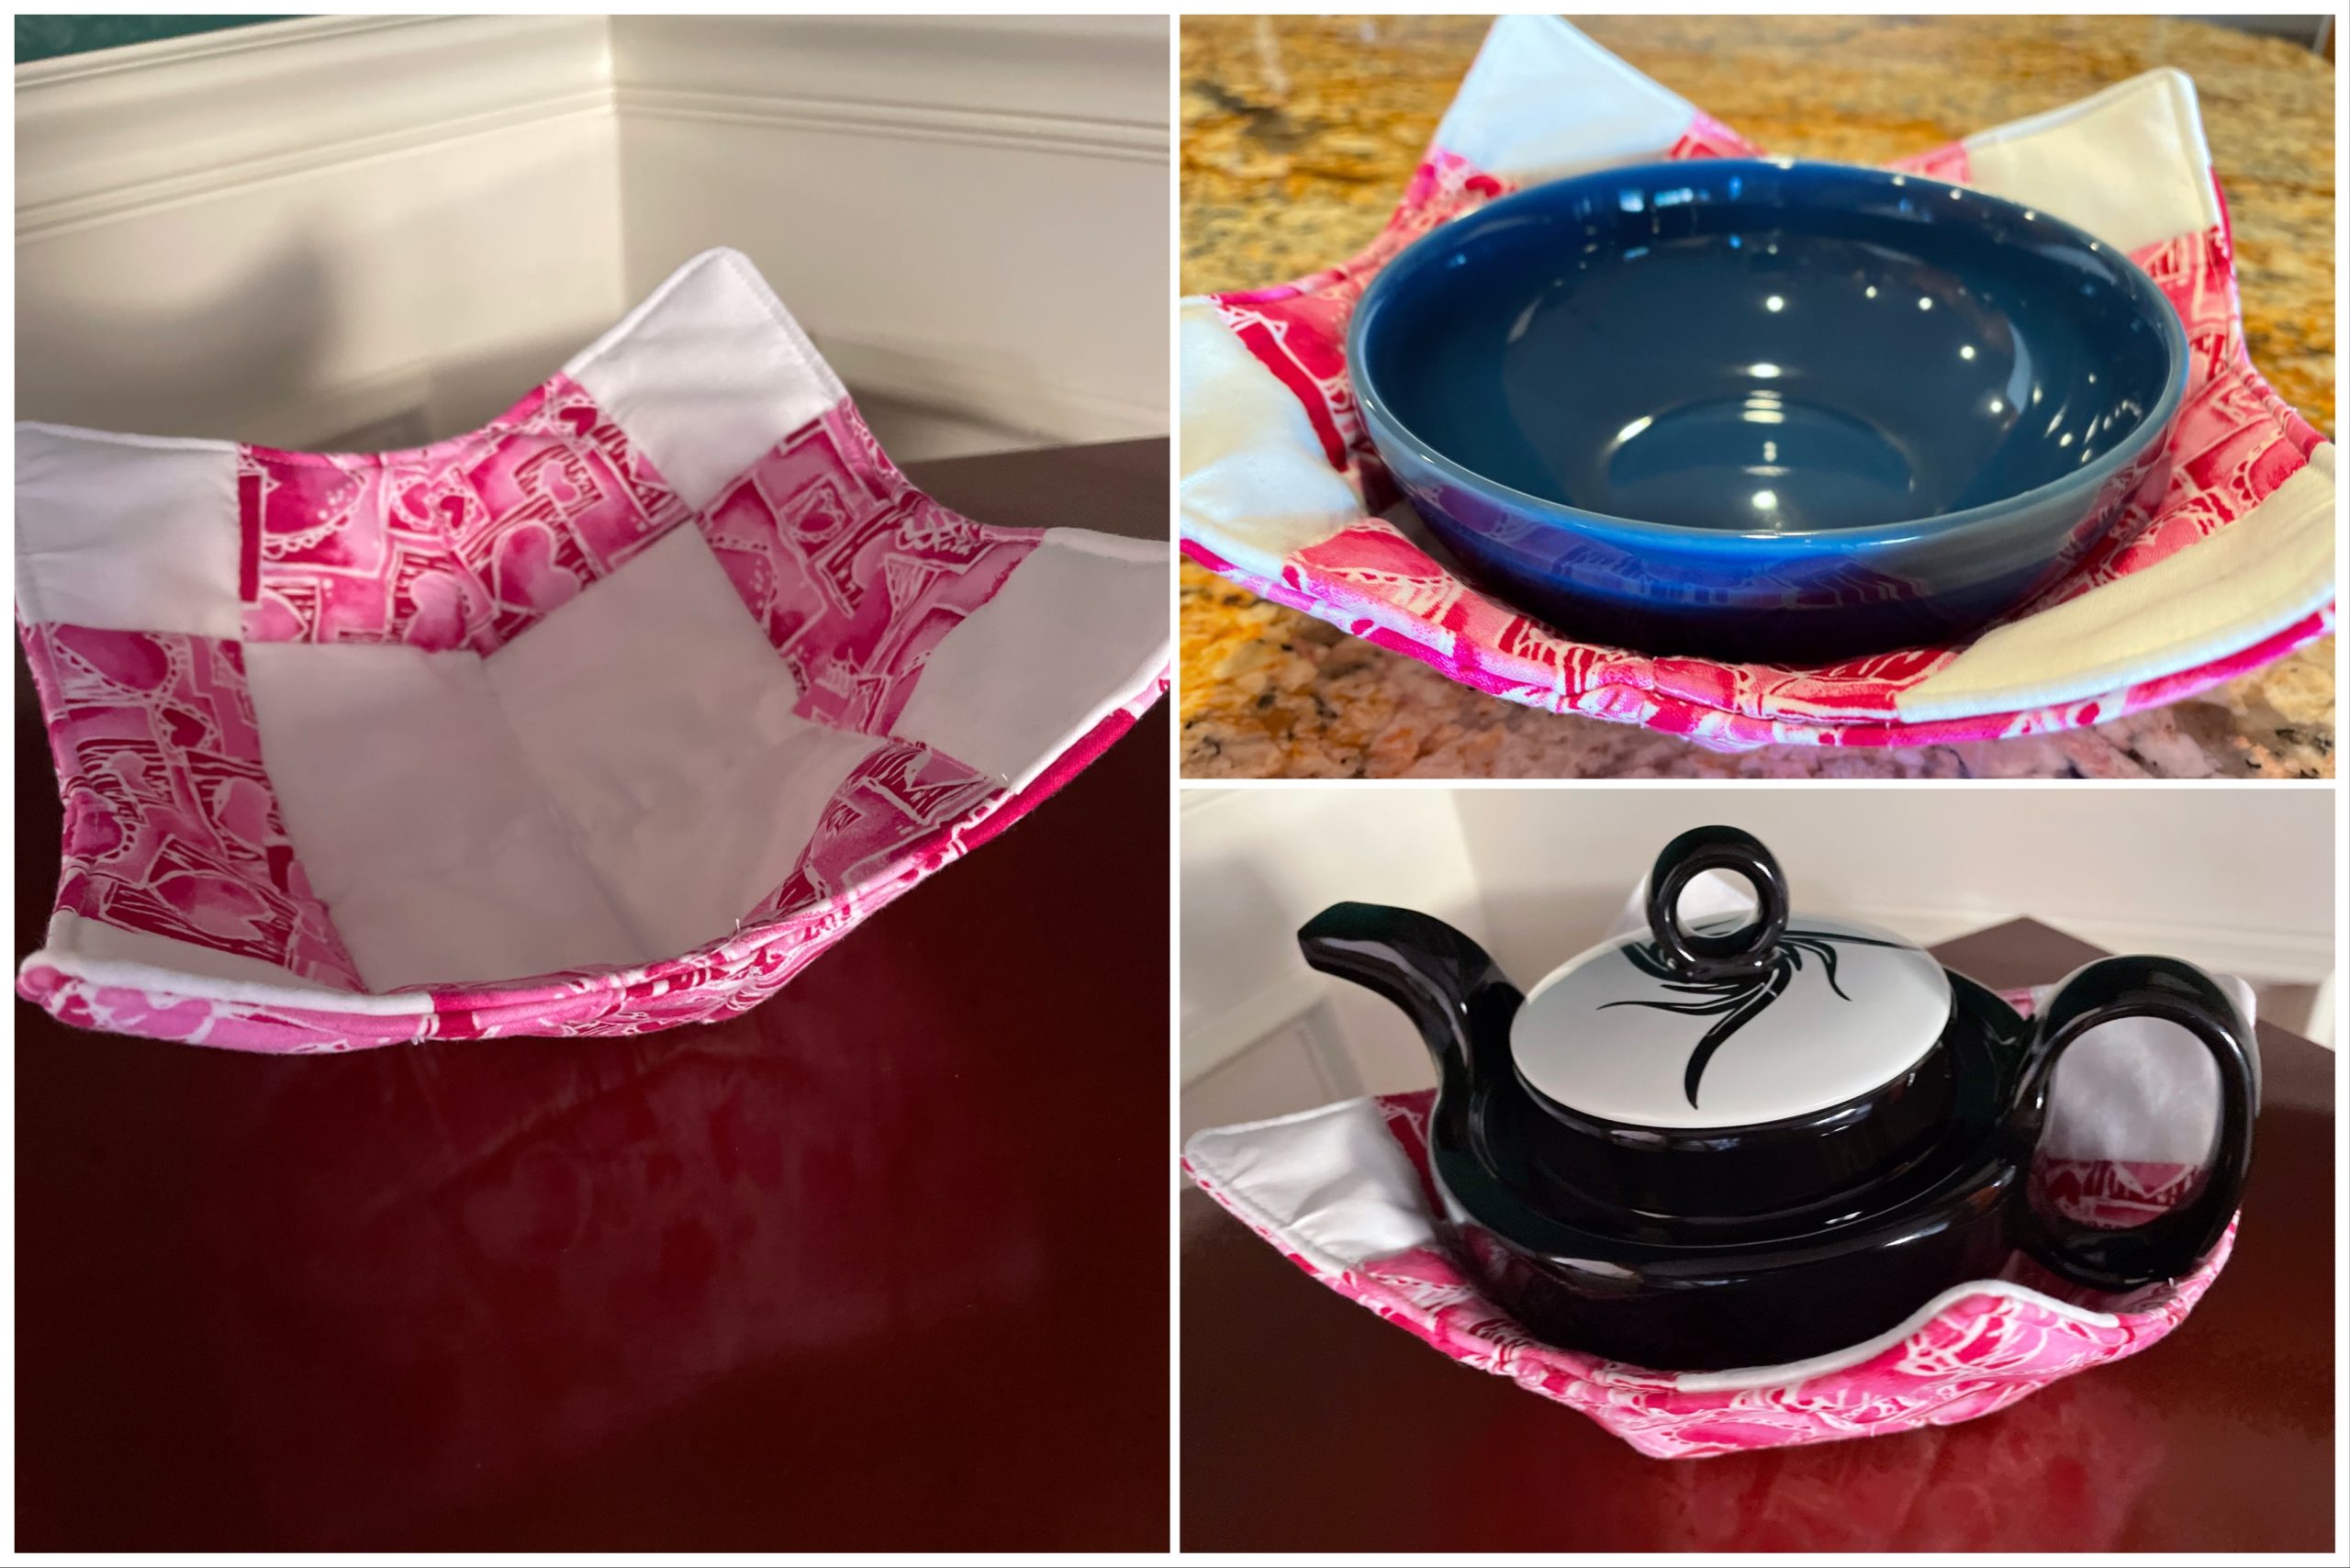
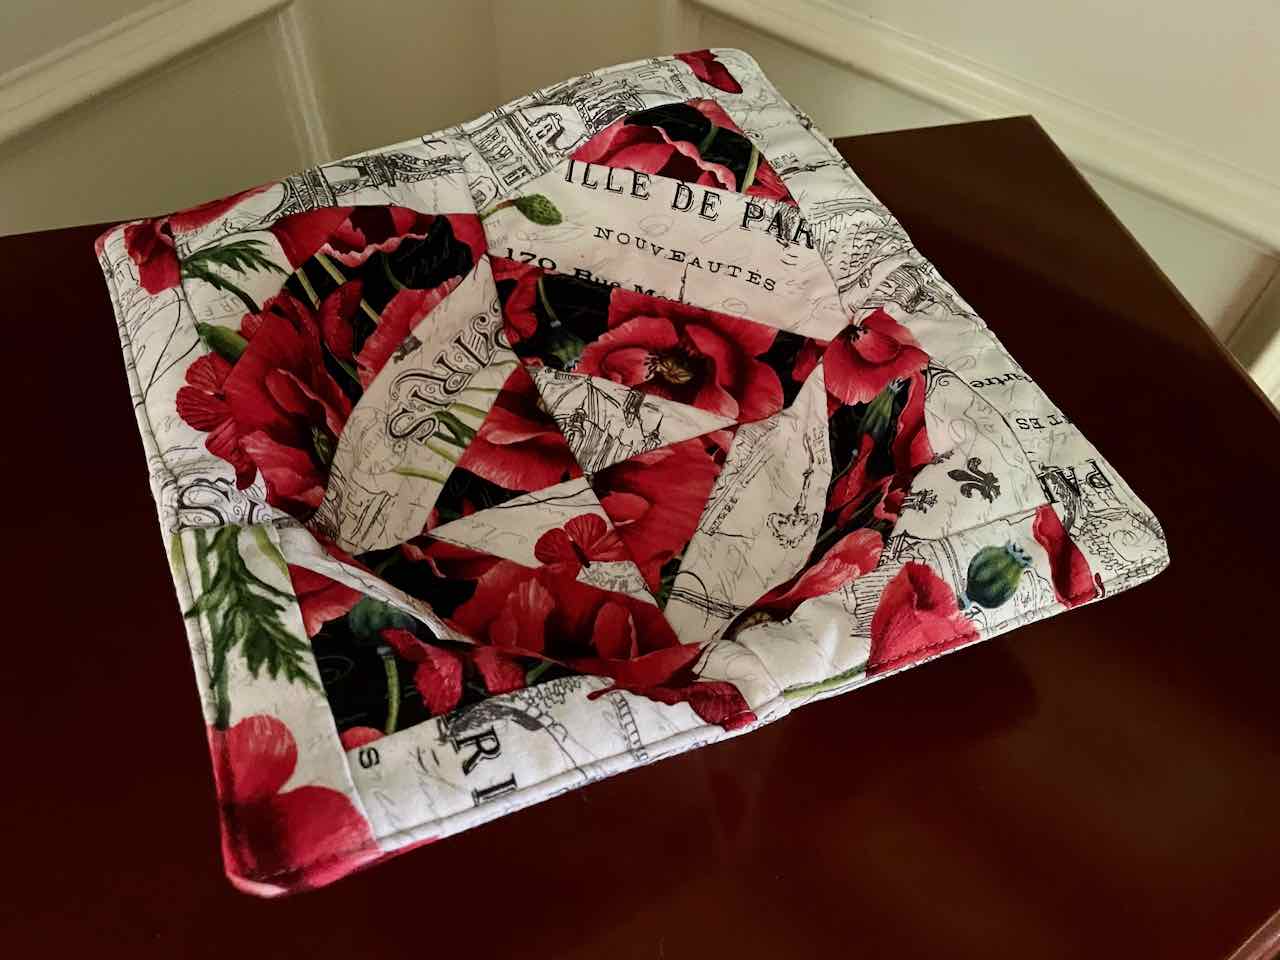
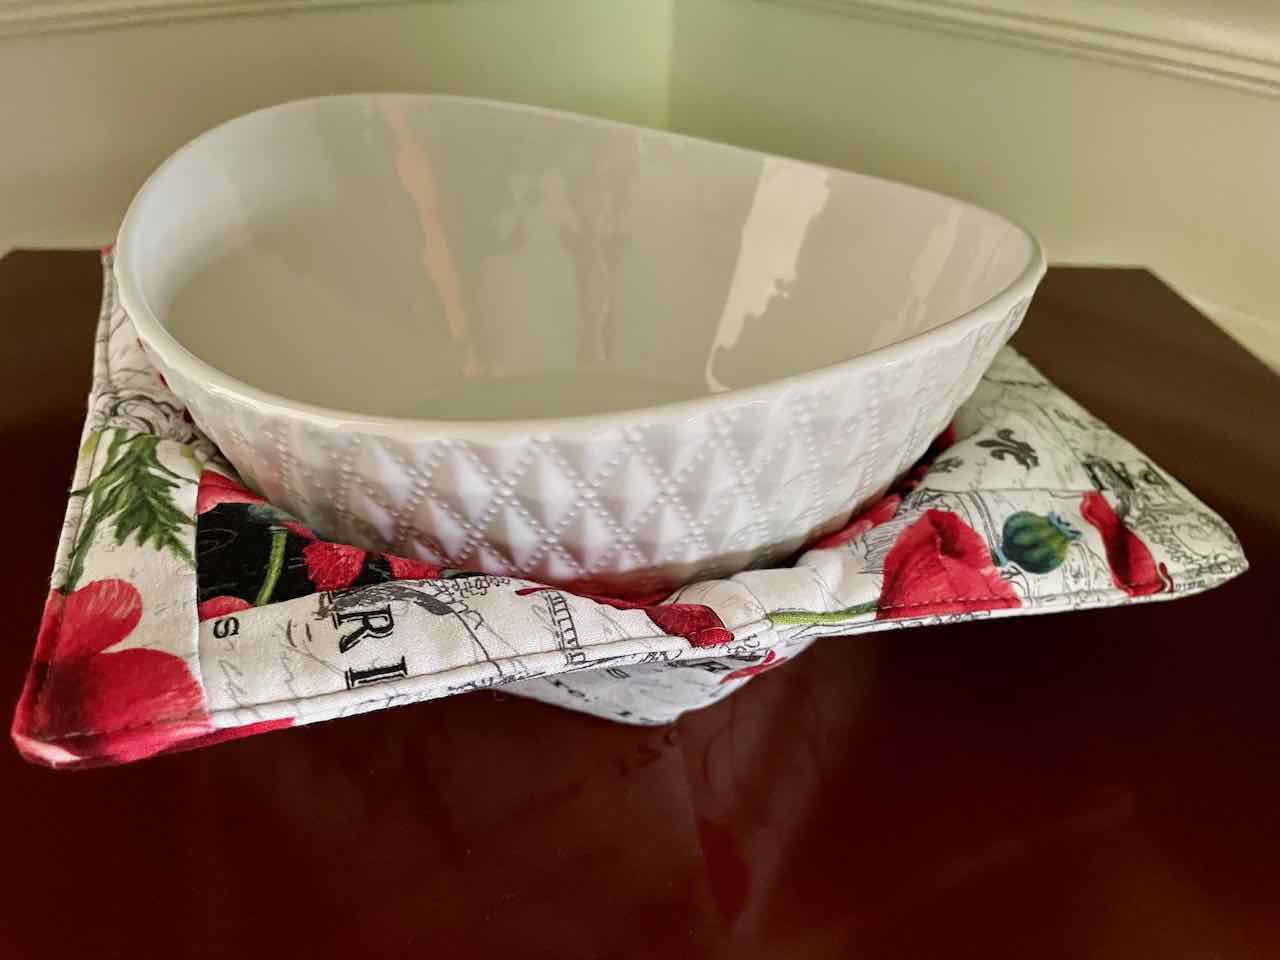
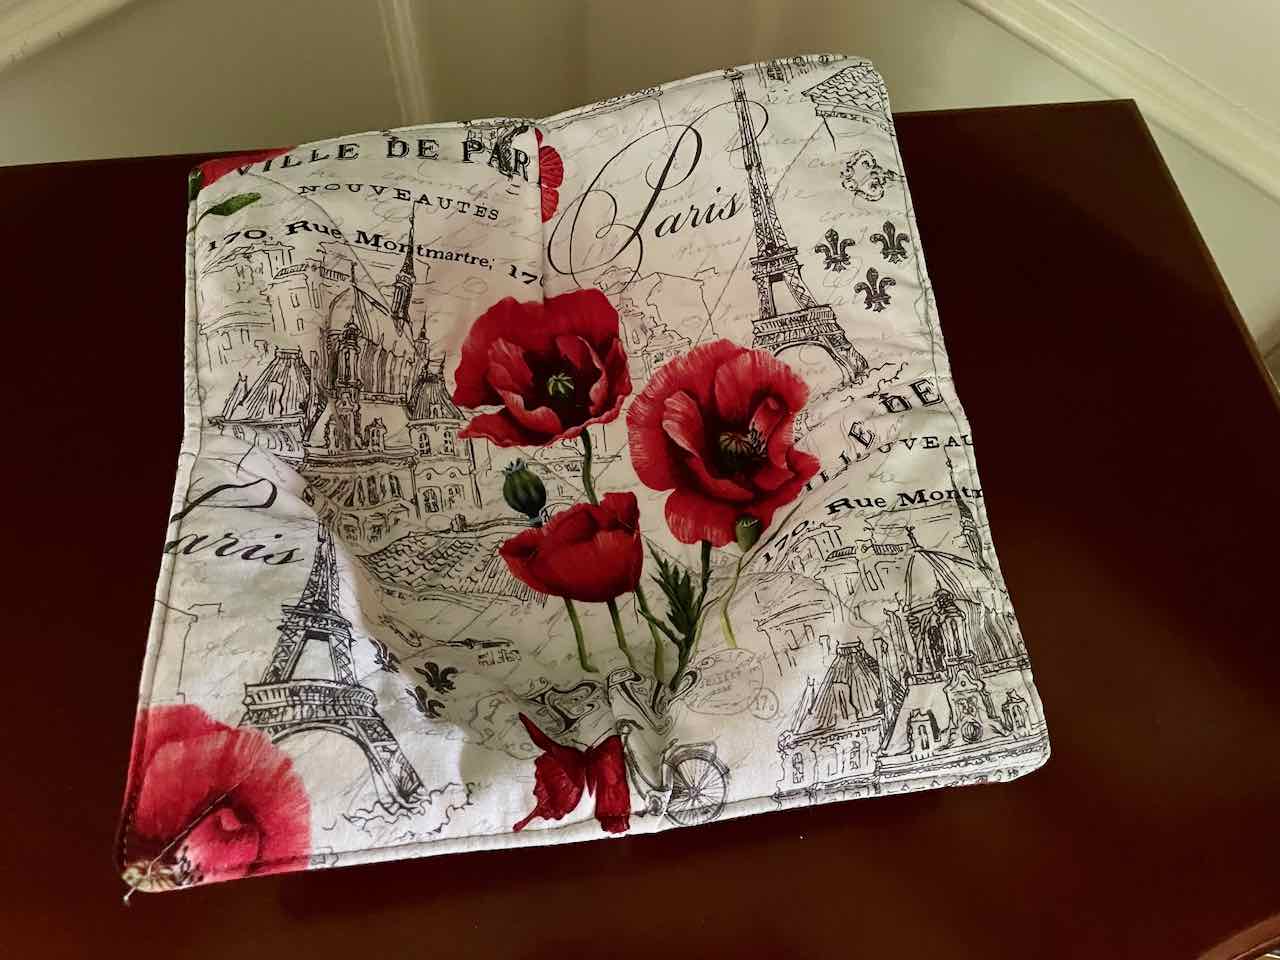
Create a stack of the cozies as you finish them. Press again if desired. Most bowls will easily slide into place in the cozies.

A few more tips:

  • Before you turn the bowls right side out, take a look at all the edges and be sure you have caught all the layers of fabric in a seam. Resew if necessary.
  • To turn the bowls right side out, place your thumb and index finger into the part you left open and reach for the furthest corner. Pull that corner through the opening and the rest will follow. 
  • Use contrasting fabrics for each side of the cozy, and stack them so a different side is up on each pile for a pretty visual effect. 
 

"Inching Along", My Quilting Experiences Experiments

I am trying my hand at the art of piecing patchwork and machine quilting. I am not much of a seamstress and I have not ever delved into this art form before, so this page will likely be filled with lots of trials and errors and hopefully, (with any luck), a few successes along the way. To you experienced quilters; please feel free to offer suggestions/tips/advice/ideas whenever the mood strikes you. I would really LOVE to hear from you.

I have advertising relationships with a few select companies. The links below are affiliate links, which means I earn a small percentage from those sales, at no additional cost to you. I use this affiliate revenue to support the continued growth of Entertaining An Idea. Thank you!
My full disclosure policy is here.

Projects With Pre-Cuts - 7 Colorful Designs

Quilted Coasters