Sous vide, (prononced “sue veed”), is French for “under vacuum” and refers to a cooking method whereby food is sealed in plastic bags or glass jars, and cooked in a temperature controlled water bath. This cooking method is ideal when cooking proteins, but can be used for a variety of foods and is used at top-rated restaurants and fast-food places. The British Royal navy uses sous vide to feed troops on submarines and the airlines heat your meals this way as you fly the friendly skies. It has been used institutionally for a very long time but hasn’t been available for the home cooks until just a few years ago.
Sous vide cooking is the single greatest advancement in cooking technology in decades, –Heston Blumenthal
Why Sous Vide
I like to refer to my home immersion circulator, aka sous vide, as my new best friend. It is wonderful for trouble free, delicious and nutritious dinners and invaluable when entertaining. If you enjoy a steak cooked just to perfection, host dinner parties, or are a busy parent who is looking for a way to prepare home cooked meals easily, this is the thing for you! (BONUS: it doesn’t heat up your kitchen!)
From the many brands to choose from, I researched three; Anova, Nomiku and Joule. I have the Anova with the bluetooth feature, but if I were to choose now, I would probably go with the Joule because it is more compact and I don’t ever use the bluetooth option.
Getting Started
The first thing that I tried with my new immersion circulator was pork chops. Pork is one of those things that is absolutely heavenly, IF prepared well, and tough, dry and tasteless if it isn’t. I seasoned the chops generously with salt, pepper and fresh herbs, placed a pat of butter on each and then sealed them individually with my vacuum sealer. I then placed them in a 130 degree F water bath to cook for 4 hours. (Yes, I did say 4 hours). One of the great things about cooking this way is that you have a BIG window of time to work with, (think entertaining). For pork chops you can cook them for as little as 1 hour or as long as 4 hours. The longer you leave the meat in the sous vide, the more tender it becomes. Be careful though because after 4 hours, the fibers of the protein can breakdown to the point of making the meat more mushy than tender and that isn’t what you are after.
The Finished Product
About 10 minutes before we were ready to have dinner, I removed the pork chops from the individual sealed bags, patted them dry and seared them on each side in a hot pan with melted butter and oil. As we sat down to dinner, I warned that this was my first time using a sous vide so I expect there to be a learning curve. To this, after his first couple of bites, my husband replied, “well, this could just be a really good cut of meat.” HA! These pork chops were two of a number that had been frozen and prepared in different ways over the past several months. This time, they were tender, juicy and scrumptious.
LOVE AT FIRST BITE!
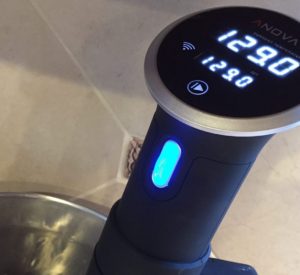
The immersion circulator looks like an oversized curling iron. It doesn’t take much space to store and can be easily clipped to a stockpot or other suitable sized vessel.
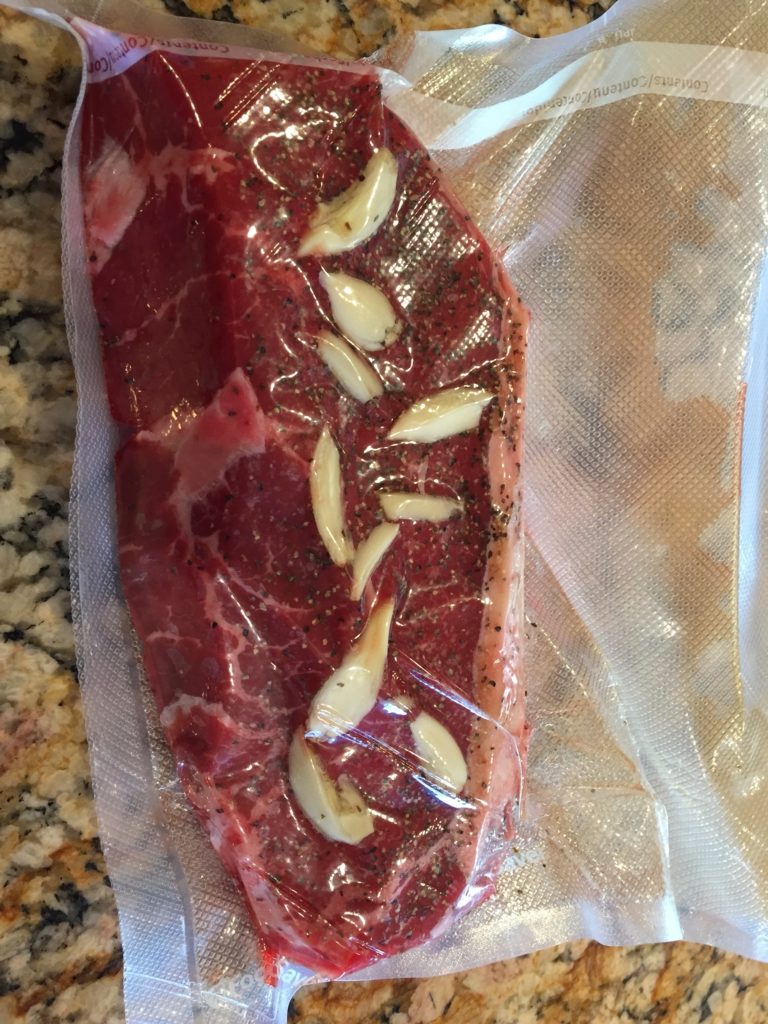
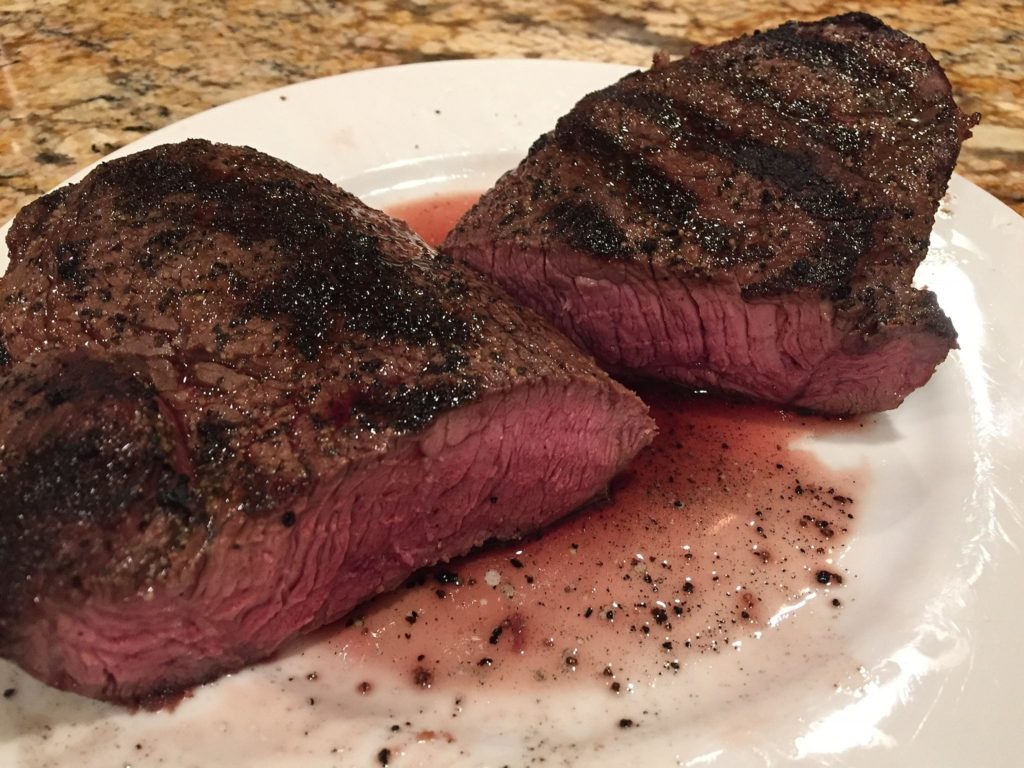
The sirloin steak, pictured above, was sealed in a bag with garlic, rosemary, salt and pepper and vacuum sealed using a FoodSaver sealing system. I set the immersion circulator to 129 degrees F, cooked it for 4 hours and finished by searing the steak on a hot grill just before serving.* It is important to point out that a sirloin steak typically has good flavor, but isn’t known to be particularly tender. By cooking it in the sous vide, it comes out as tender as a beef tenderloin! How can this be???
*Always allow the meat to rest for 5 minutes before cutting and serving to allow it to reabsorb and distribute the juices that have been constricted during the cooking process. If you cut into it right away, the liquid will actually pour out and your beautiful steak will end up dry.)
Here is a little of the science behind it, as written by J. Kenji Lópex-Alt, author of The Food Lab.
“…If you place the meat in an airtight vacuum-sealed pouch and submerge it in a temperature-controlled water bath, the water very efficiently transfers heat energy to the steak while maintaining a very precise temperature. The result is meat that’s cooked evenly from edge to edge. And because the water bath is maintained at the final serving temperature of the meat, there’s absolutely no way you can overcook it. Need to walk the dog? No problem–your steak will be waiting…Take your time. The steak will still be there, exactly as you left it. This makes hosting dinner parties extraordinarily easy….
In addition, meat naturally contains enzymes called cathepsins that slowly break down tough muscle tissue at first and then work faster and faster as the temperature increases. Giving the meat extra time in the lower temperature range means the cathepsins work overtime making an already tender steak even more tender. And tender meat is not just about texture–the more loosely packed the muscle fibers, the less they contract during cooking and the fewer juices they expel, making the slow-cooked meat more juicy as well…”
Steak Crostini
Ingredients
- Steak, cooked medium-rare and thinly sliced
- Horseradish sauce
- 2 cups arugula
Pickled Onions - 1 red onion, halved and sliced
- 1/2 cup white wine vinegar
- 1/2 teaspoon sugar
- 1/2 teaspoon salt
Crostini - 1 baguette, sliced diagonally into 3/4″ slices
- Extra virgin olive oil
- salt and freshly ground black pepper
Preparation
- Place sliced onions in a jar. In a small bowl, whisk together the vinegar, sugar and salt and stir to dissolve. Pour mixture into jar, over onions. Let sit at room temperature for several hours. (Shake mixture every now and then).
- Preheat oven to 400℉. Line a baking sheet with parchment paper and place baguette slices on the baking sheet. Using a pastry brush, lightly coat the baguette slices with olive oil. Sprinkle with salt and pepper. Bake until lightly toasted, about 8 minutes.
- Spread horseradish sauce on the crostini, then top with arugula, steak and pickled red onions
EAI has advertising relationships with a few select companies. The referral links are below. If you click through and purchase something, EAI may receive a commission, at no additional cost to you. Click here for the full disclosure policy.
The BEST Corned Beef Dinner EVER!
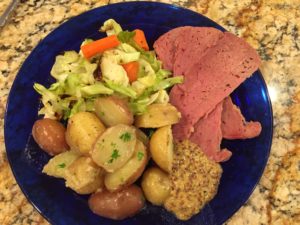
St. Paddy’s Day has come and gone, but I would be remiss if I didn’t share how to make the best Corned Beef I have ever tasted.
I have prepared this meal every year for many years and never has it been as good as it was this year. What did I do differently? So glad you asked! I cooked it in the sous vide.
The reason I decided to break away from my customary routine and instead, use the sous vide, was a practical one. Corned beef takes several hours to cook on the stove top, which means that one needs to be near the kitchen the entire time. We planned to entertain friends for dinner, but decided that we wanted to hit the slopes for the day. By using a water bath to cook the meat, we could leave while it was cooking and not worry about burning down the house.
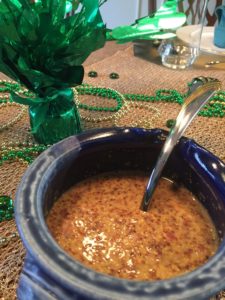
It was surprisingly simple to do and the corned beef turned out tender and delicious. I simply rinsed the corned beef before placing it in the bag, sealed it and placed it in a 180 ℉ water bath for 10 hours. I roasted cabbage and carrots in the oven and served it all with Guinness Mustard.
If you are like me and find corned beef difficult to slice right out of the pot, cook it a day ahead, refrigerate overnight and then slice it up. When you are getting the rest of the meal ready, warm it up on a skillet placed over the pot that the potatoes are cooking in.
A Perfectly Timed Dinner
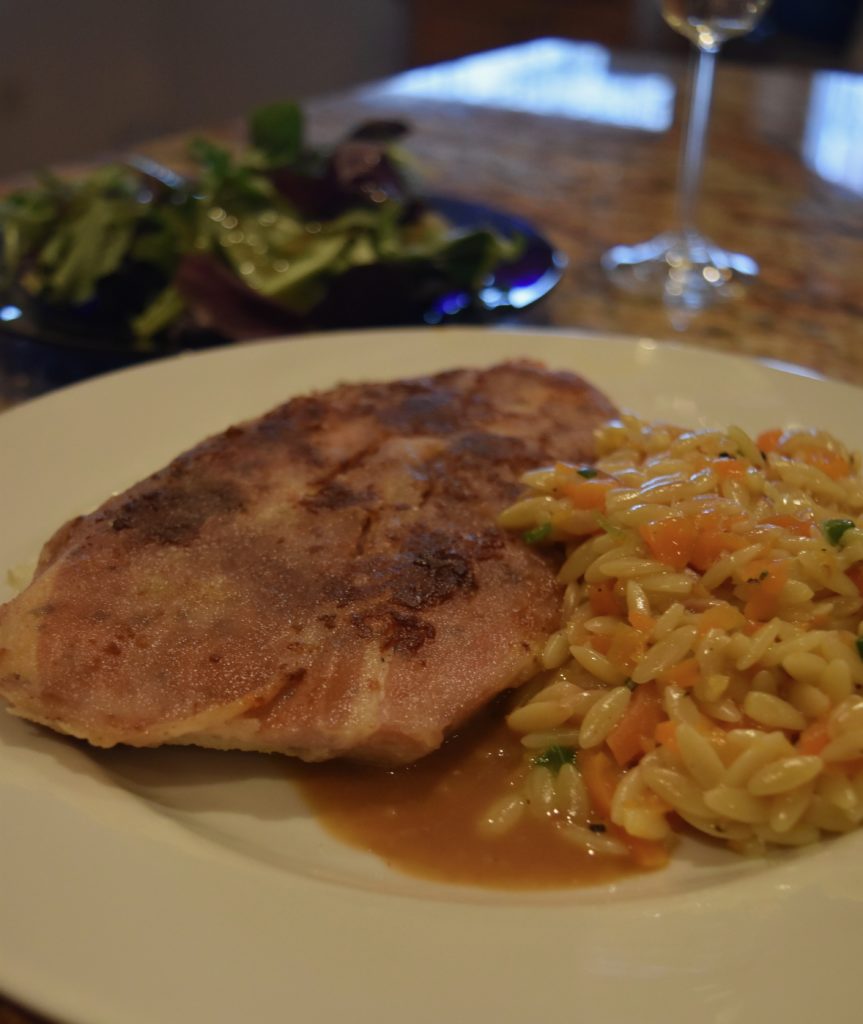
As mentioned earlier, preparing food in the sous vide is a wonderful solution to serving a perfectly timed dinner when hosting any sized gathering. One of my favorite meals to prepare for guests is Chicken Saltimbocca with Lemon Sauce. This is a delicious dish but can be tricky keeping the sage and prosciutto slices in place on the chicken breast so that it looks pretty, plus the timing can be difficult. The immersion circulator is the answer. By putting it all together and then cooking it in the sous vide, everything cooks together. This process marries the flavors beautifully and holds all of the components together for ease in the final preparation and presentation.
SO DELICIOUS AND ALWAYS A WINNER!
Finally, for those of us who like to eat right, exercise, and employ healthy lifestyle habits– we like to do our research. We have known for some time to steer clear of cooking and consuming food and beverages from plastic. Even my food processor bowl is BPA-free, so what about COOKING in plastic for long periods of time? I have done my research and found a wonderful and comprehensive article on “COOKING SOUS VIDE-PLASTIC SAFETY” by Michelle Tam. If this is something that concerns you, I highly recommend you visit her site. (You will probably want to book mark it, she has a lot of great information).
Here is a snippet from her post:
Last year, Richard Nikoley shared this quote from an email list, noting that there is “absolutely zero danger” in cooking with FoodSaver bags:
The plastic that touches the food is made of 100% polyethylene, contains no plasticizers or estrogen-like compounds. The FoodSaver bags are 5 layers of polyethylene with an outer layer of nylon. While you might get bpa from your cans of coonut milk, there is simply no bpa that will get into your food from sous vide. The temperatures of sous vide are also low (polyethylene doesn’t begin softening until 195f), although I would imagine that a very small amount of polyethylene would still make it onto the surface of your food through diffusion. Polyethylene, however, is considered biologically inert, and scientists have been unable to detect any toxicity in animal tests (unlike bpa). It passes the ames test and other studies of damage to dna, and doesn’t have a similarity to estrogen. At this point, I’m unaware of any evidence at all that polyethylene poses any harm. As always, it’s up to you, but for me the taste and health benefits (less age production, nutrient loss, and protein degradation, and more retention of fatty acids) that sous vide provides far outweighs what seems to me to be an almost arbitrary possibility that it will harm me.
Corned Beef, Cabbage and Roasted Vegetables
Equipment
- Sous Vide
Ingredients
Corned Beef & Vegetables
- 1 package corned beef
- new potatoes red, white, gold or a combination
- 1 head green cabbage cored and thickly sliced
- 6-8 carrots peeled and cut into pieces
- 1-2 apples Pink Lady or Granny Smith both taste great
- 1 Walla Walla Sweet or Mayan onion halved and thickly sliced
- Olive oil extra-virgin
- Butter, salt, pepper, fresh parsley to taste
Guiness Mustard Sauce
- ½ cup course-grained mustard I use Trader Joes
- 2 tbsp regular Dijon mustard
- 2 tbsp Guinness Stout
- 1 tbsp shallot minced
- 1 tsp light brown sugar
Instructions
Prepare Corned Beef
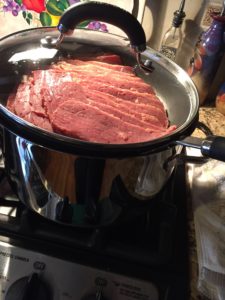
- Rinse the corned beef before placing it in a vacuum sealed bag. Seal the bag and place it in a preheated 180° F sous vide water bath. Leave to cook for 10 hours, adding additional water when needed.****You can serve this up the day you cook it OR, I prefer cooking it a day ahead and letting it sit in the refrigerator over night. (It is much easier to slice this way).
- Half the new potatoes and place in a large pot filled with well-salted room temperature water. Bring to a boil and cook until tender. **If corned beef has been chilled over night in the refrigerator, slice and warm the slices in a large skillet with a tight-fitting lid, placed over the pot of potatoes.
- While potatoes are cooking, place vegetables on a large rimmed cookie sheet. (Use two if needed so as not to crowd the vegetables.) Drizzle generously with olive oil, season with salt and pepper and toss to coat. Place vegetables in a 400° F preheated oven and roast 20 minutes, turning half way through. (I cook until browned and the carrots still have a slight snap). Stir potatoes into melted butter and season with salt, pepper and freshly chopped parsley. Serve alongside roasted vegetables, slices of corned beef and plenty of Guinness mustard sauce.
Guinness Mustard Sauce
- Mix all ingredients together in a bowl to blend. Cover and refrigerate at least 2 hours. Can be made 2 days ahead, keep refrigerated.
Notes
Chicken Saltimbocca with Lemon Sauce
Equipment
- Sous Vide (optional)
Ingredients
- 4 skinless boneless chicken breast halves
- 8 large fresh sage leaves
- 8 thin prosciutto slices about 3 ounces
- ½ cup all-purpose flour plus 1 tablespoon
- 2 tbsp unsalted butter
- 1½ tbsp extra-virgin olive oil
- 3 tbsp dry white wine
- ¾ cup chicken stock
- 3 tbsp fresh squeezed lemon juice
- kosher salt and pepper to taste
Instructions
- Place chicken between 2 sheets of parchment paper or plastic wrap and pound to ⅓" thickness, using a mallet. Season with salt and pepper. Place 2 sage leaves on each breast and top with 2 prosciutto slices, pressing to adhere.
- **If using a sous vide; Place each breast, (individually), into a vacuum sealing bag, (such as FoodSaver) and seal. Set each bag into a 155°F water bath and cook for 90 minutes to 3 hours. Remove chicken from cooking bags, pat dry and dip in flour to lightly coat both sides.
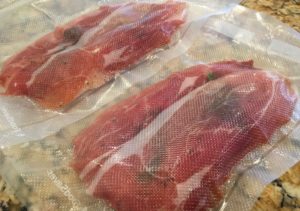
- Melt butter with oil in large nonstick skillet over high heat.If no cooking with a sous vide circulator, dip chicken breasts into flour to lightly coat both sides and place in skillet, prosciutto side down. Cook until brown on each side and internal temperature of the meat is 155°F on an instant read thermometer.**For sous vide cooked chicken, cook until brown--about 1-2 minutes on each side.
- Transfer chicken breasts to a platter and cover to keep warm; reserve skillet.Whisk wine with remaining tablespoon flour in small bowl. Add broth and lemon juice to same skillet; bring to boil.Add wine mixture; whisk until sauce thickens slightly, about 30 seconds.Season to taste with salt and pepper.
Notes
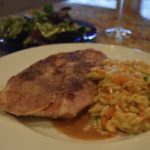
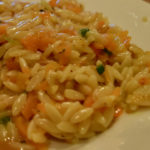
Carrot Orzo
Ingredients
- 6 ounces peeled baby carrots about 1¼ cups from 16-oz package
- 2 tbsp unsalted butter ¼ stick
- 1 cup orzo uncooked
- 1½ cups water
- 1¼ cups chicken stock
- 1 clove garlic minced
- ¼ cup parmesan cheese grated
- 2 tbsp green onions chopped
- 1 tsp fresh rosemary minced
- Kosher salt and freshly ground black pepper to taste
Instructions
- Place carrots in a food processor and finely chop, using on/off turns.Melt butter in heavy medium saucepan over medium heat.Add orzo and carrots and sauté until orzo is golden, about 5 minutes.Add water, chicken stock and garlic; cook uncovered over medium heat until all liquid is absorbed, stirring frequently, about 10 minutes.Stir in cheese, green onions and rosemary.Season to taste with salt and pepper.Serve











Pingback: DOGGING AN IDEA - Entertaining An Idea
Pingback: REMEMBERING AN IDEA - Entertaining An Idea
Pingback: JUSTIFYING AN IDEA - Entertaining An Idea
Pingback: IRISHING AN IDEA - Entertaining An Idea
Do you have any kind of pointers for creating articles?
That’s where I always battle and also I simply wind up looking vacant display for long period of time.
Bellissimo lavoro,bravo continua cosi!!
Pingback: HERB AND SPICING AN IDEA - Entertaining An Idea
Pingback: SLAINTE an idea - Entertaining An Idea
Pingback: SLAINTE an idea - Entertaining An Idea
Pingback: HERBS AND SPICES - Entertaining An Idea
Pingback: LONDON BROIL an idea - Entertaining An Idea