What is the deal with SOURDOUGH?
I have always loved sourdough and have enjoyed making things with it for many years so I am delighted that it has ‘RISEN’ to celebrity status since the COVID quarantine in 2020. This post is all about this fabulous phenomenon, also known as wild yeast, and how you can join in the fun of it all.
The first thing that you will need to get started with sourdough is a nice and lively sourdough starter. If you don’t have one and don’t know anyone who can give you one, (like me), then you will need to make your own starter. I went on line and found some great sourdough sources for beginners.
Sourdough Basics
Now that you have your starter, whether you have made one from scratch or you have been given one, you will need to know a few basics about how to care for and enjoy your new starter.
FEED YOUR STARTER
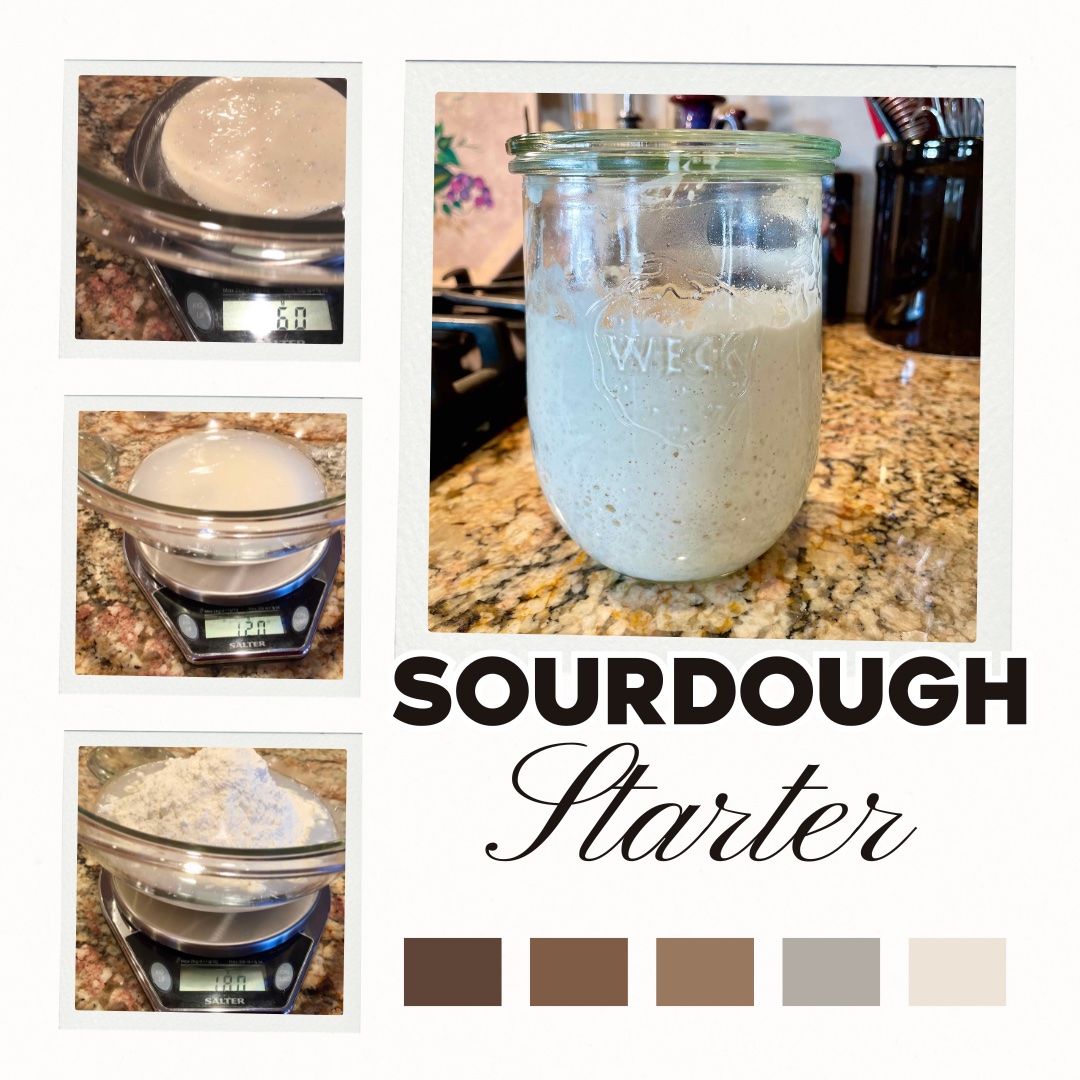
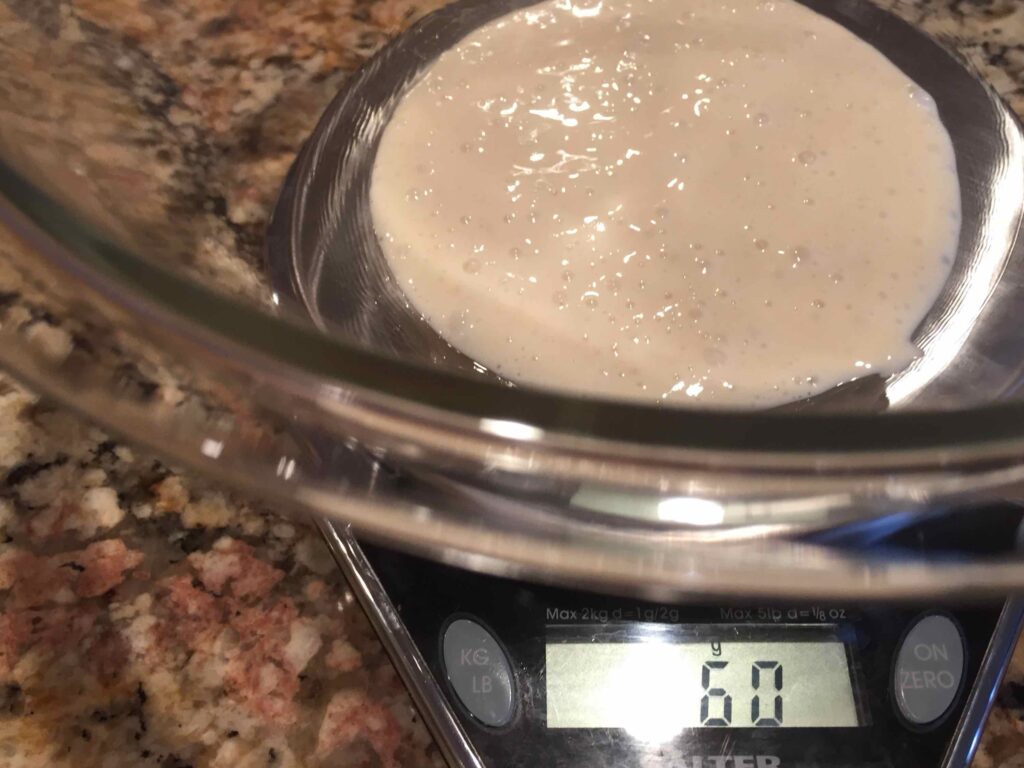
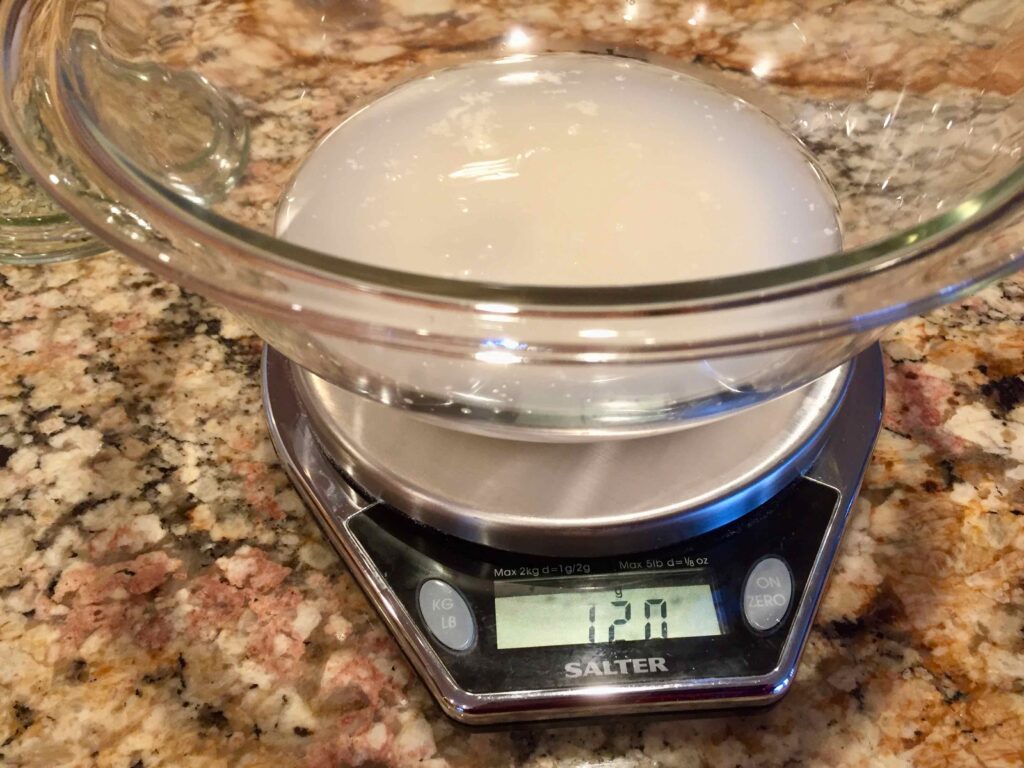
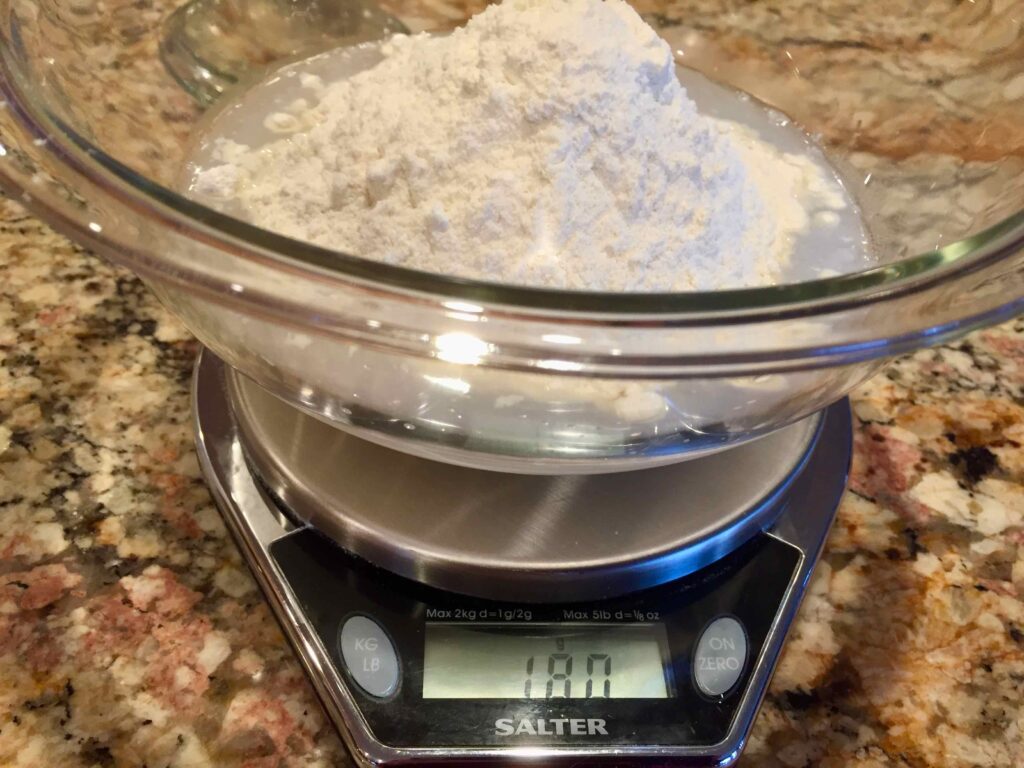
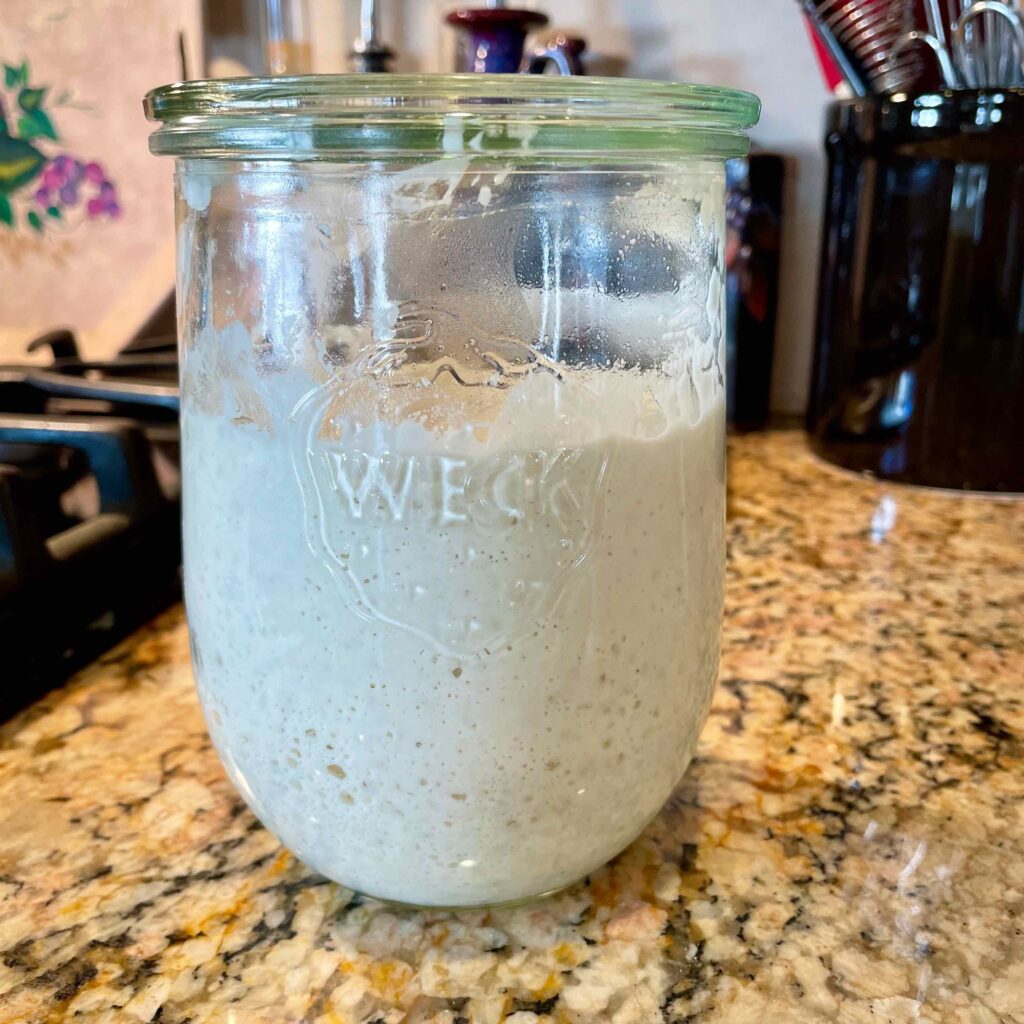
First, you will need to take care of your starter. It doesn’t require much attention, but it does need to be ‘fed’ before you can use it in a recipe. You will use equal amounts of starter, filtered water and flour. I suggest 1/2 cup starter, (113 grams), 1/2 cup lukewarm water, (113 grams), and a shy 1 cup, (113 grams), flour. (This will give you enough to use in most recipes plus have some left over to store in the fridge for next time.) Stir until everything is nicely combined. If you aren’t ready to use it just quite yet, you can allow it to rest nicely in your fridge for several days or even weeks before you need to feed it again.
ALLOW TO FERMENT
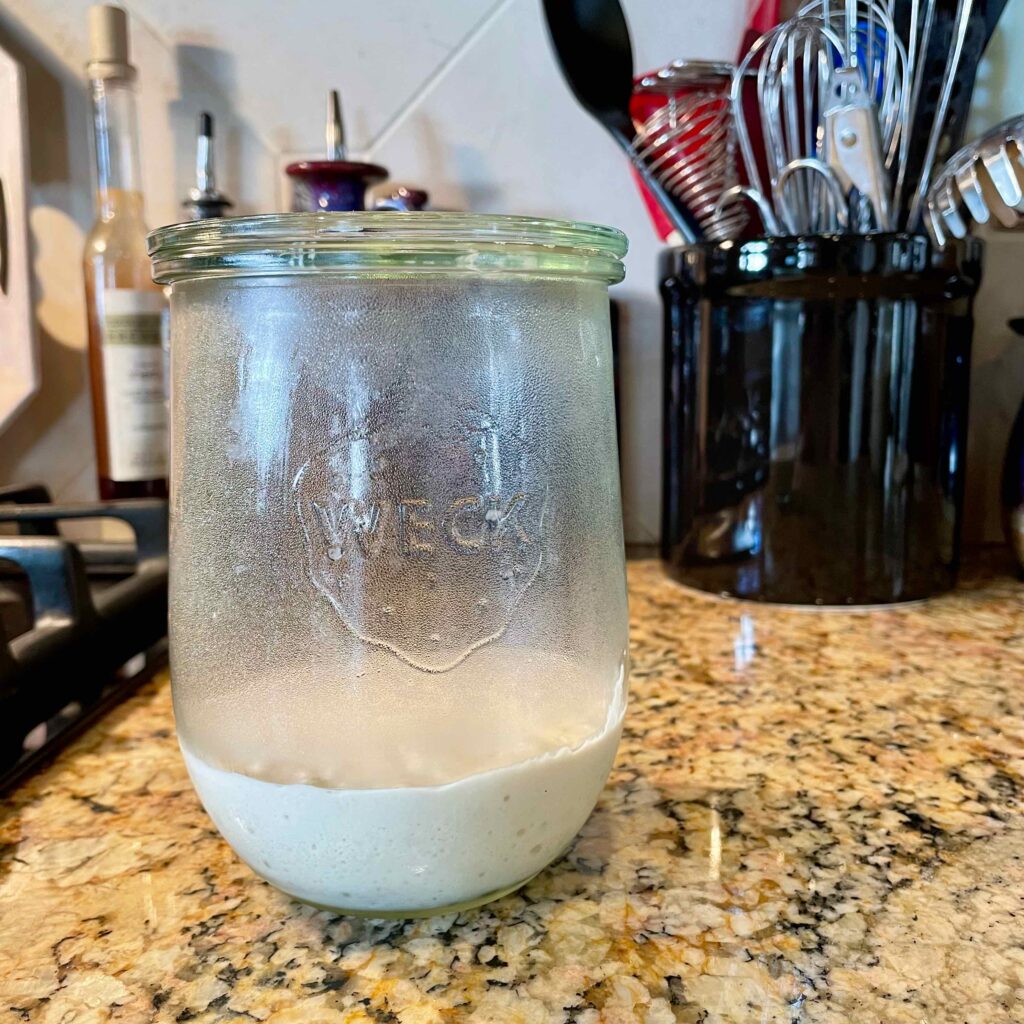
Cover the jar or bowl with a lid or plastic wrap. (My jars have glass lids that fit nicely on top.) It doesn’t need to be air tight, but covered tight enough so that the starter doesn’t dry out. Once it is fed, you can leave it on your counter for 8-12 hours, until it has doubled in volume and then you can measure it out for your recipe. The ideal room temperature should be between 68 – 78 degrees F. Once it has doubled in volume, it is called “an active sourdough starter” and can be used in a recipe.
A FEW TIPS
Use a good quality all-purpose flour and filtered water. (Chlorine from tap water could shut you down before you get out of the gate, and finally, (though some say it is a wives tale), DON’T USE METAL TO STORE OR STIR YOUR SOURDOUGH STARTER. I use glass jars to store the starter and wood or silicone spatulas to stir it with. Be sure to save out some starter to store in fridge for your next recipe.
NOTE: If you aren’t ready to use your starter quite yet, you can allow it to rest nicely in your fridge for several days or even weeks before you need to feed it again. To do this, take your just fed starter and allow it to rest at room temperature for 2 hours on your counter before stashing it in the fridge.
IF you happen to leave it in the fridge and forget about it for a month or two, don’t throw it away! Your starter is VERY resilient. You may notice a layer of liquid on top. This liquid is called ‘hooch’ and is merely alcohol and water generated by your starter’s wild yeast as it feeds. Hooch is a visible cry for help –your starter needs to be fed. Feed it as usual and it should recover just fine. If it acts a little sluggish and doesn’t bubble as usual after 8-12 hours, just feed it again and give it another 8-12 hours. It will eventually come back around.
My 'go to' Sourdough Recipes

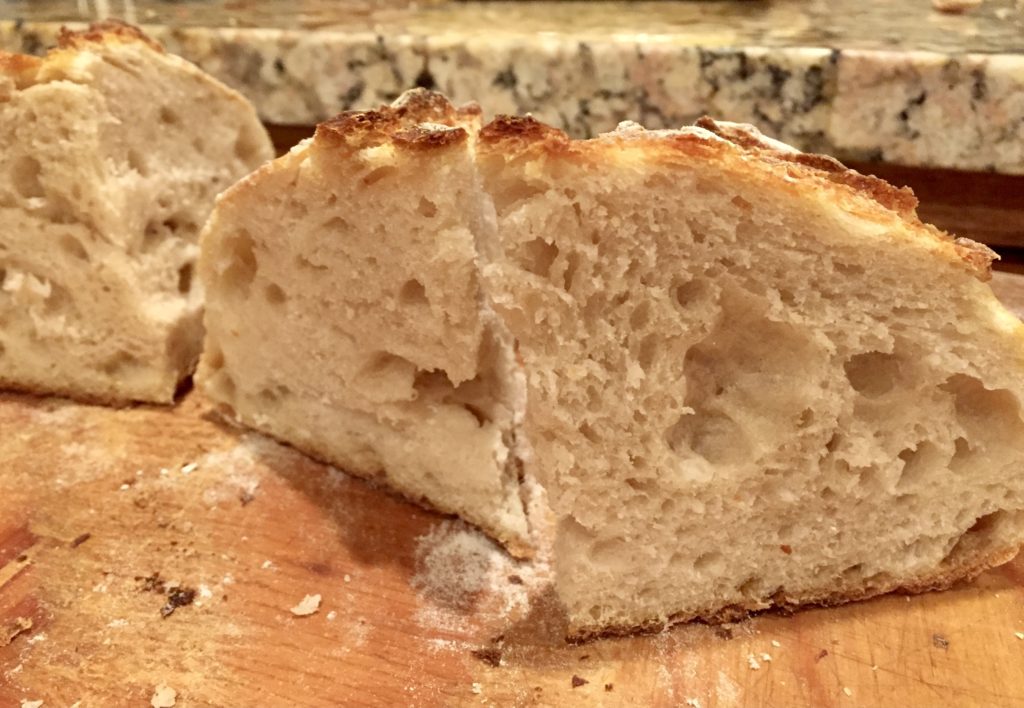
Artisan Sourdough Bread
Equipment
- Bread Proofing Basket (optional)
- Scoring Lame (optional)
- Stand mixer (optional)
Ingredients
- 1 cup active sourdough starter
- 1 cup warm water
- 2½ cups unbleached all-purpose flour
- 1½ tsp salt
Instructions
- Combine the starter, water and 1½ cups of the flour. Mix with the paddle on low speed until it forms a thick batter. Cover the bowl and set aside for 30-60 minutes
- If using a stand mixer, change to the dough hook. Add the salt and the rest of the flour and mix until the dough begins to form a ball around the hook. If mixing by hand, add the flour using a wooden spoon. This dough is sticky.Place the dough into a lightly oiled bowl, turning once to coat the dough. Cover the bowl and set aside at room temperature for 30 minutes.After 30 minutes, lift one side of the dough and fold it into the middle of the dough. Repeat with the other three sides of the dough and then flip the dough over. (This helps to redistribute the yeast). Cover and after 30 minutes repeat the procedure.Cover and after 60 minutes repeat the procedure again.Cover and after 60 minutes turn the dough one more time. by now the dough should be elastic and airy. If the dough is still sluggish, give it another hour or two at room temperature. Cover tightly and refrigerate overnight.
- Remove the dough from the refrigerator and dump it onto a floured board. Without kneading, use your cupped hands to form the dough into a smooth ball. Cover lightly with a kitchen towel or plastic wrap and let the dough rest for 20-30 minutes. If the ball flattens during the 20 minutes, fold it onto itself and form the ball again. This step will help you check if your dough is elastic enough to hold it's shape during the final rise and baking.
- Uncover the dough and knead 1-2 times. Reshape the dough into a smooth ball and place the dough into a well-floured proofing basket or directly onto a sheet of parchment paper.
- Cover the dough and leave in a war, place until it's almost doubled in size and it springs back slowly when poked, about 1½-2 hours depending on the room temperature and dough temperature. Meanwhile, preheat the oven to 425°F. Place a Dutch oven with a lid into the oven to preheat.
- If the loaf is in a proofing basket, place a sheet of parchment over the dough and gently flip it over. Use a single edge razor or very sharp knife to cut a ¼" deep X across the top of the loaf. Remove the preheated pan from the oven and remove the lid. Use the parchment to lift the loaf into the Dutch oven.
- Replace the lid on the pot and slide it into the oven, Bake for 20 minutes. Remove the lid from the Dutch oven. The loaf should be well risen and pale in color.
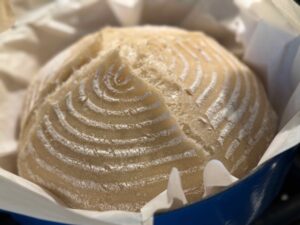
- Continue baking another 20 minutes until the loaf is nicely browned and beginning to crisp. Remove the pan from the oven. Use the parchment to lift the loaf out of the pan. Use the parchment to place the loaf directly onto the rack in the oven. Bake another 5-10 minutes until the loaf is deeply browned and very crisp. Total baking time is about 40-50 minutes.
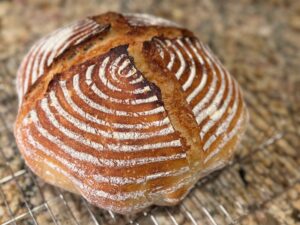
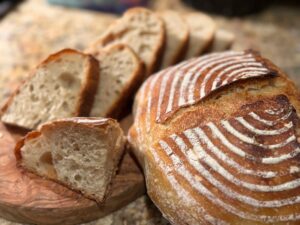
- Cool completely on a wire rack before slicing.
Sourdough Pizza Crust
Equipment
- Pizza stone (optional)
Ingredients
- 1 cup active sourdough starter
- 1 cup warm water
- 3 cups flour
- 1½ tsp onion salt
- 2 tbsp olive oil
Instructions
- Using a stand mixer, combine the starter, water and 2 cups of the flour and mix on low speed with the paddle until the flour is incorporated. Cover the bowl and set aside for 30-60 minutes.
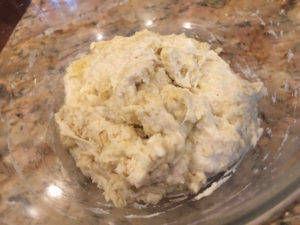
- Change to a dough hook and with the mixer running on low, add the salt, olive oil and remaining flour. Mix on medium speed until the dough begins to clear the sides of the bowl and gathers on the hook. Increase the speed to medium-high and knead for 5 minutes. (If mixing by hand, add as much of the flour as you can using a spoon, then turn the dough out onto a floured surface to finish kneading in the rest of the flour.)
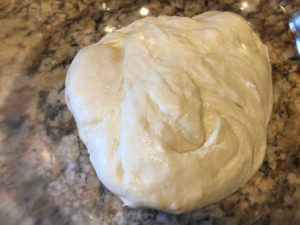
- Drop the dough onto a floured surface and knead into a smooth ball. Place the dough into a lightly oiled bowl and turn it over to coat the surface. Cover the bowl and set aside at room temperature.
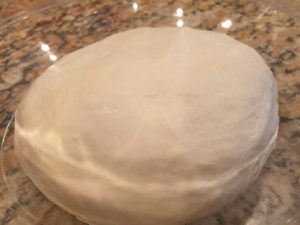
- After 30 minutes, uncover the bowl and lift one side of the dough and fold it into the middle of the dough. Repeat with the other three sides of the dough and then flip the dough over. Cover the bowl and after 30 minutes, repeat the procedure. Cover the bowl and after 60 minutes, repeat the procedure again.Cover the bowl and set aside for another 60 minutes. By the end of 3 hours the dough should be lively, elastic and airy. If the dough is still sluggish, give it another hour at room temperature. At this point you can refrigerate the dough for up to 2 days or you can go ahead and make the pizzas
- Drop the dough onto a floured surface. using a bench scraper or sharp knife, cut the dough into 2 equal pieces. For, each piece into a tight ball by cupping the dough in the palms of your hands--do not knead at this point. Allow the dough to rest for 20 minutes, (covered), before forming into your pizza crust.
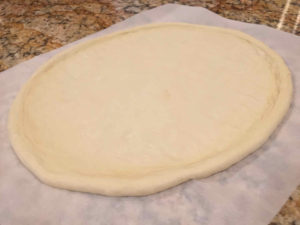
- Place one ball of dough onto a large square of parchment paper and gently flatten and press the dough into a disc. Use your fingers to stretch the dough into a 12-14" round.

- Proceed to top and bake your pizza.
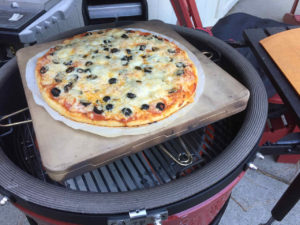
- I often use a grill to bake my pizza.

Sourdough Pancakes
Ingredients
- 2 cup Active Sourdough Starter
- 2 tbsp granulated sugar
- 4 tbsp vegetable oil
- 1 ex-large egg
- ½ tsp salt
- 1 tsp baking soda scant
- 1 tbsp warm water
Instructions
- Into the sourdough starter add sugar, salt, egg and oil and mix well.
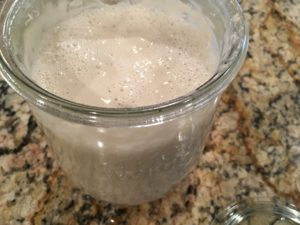
- When ready for the batter to hit the griddle, blend soda in 1 tablespoon of warm water and fold gently into the batter. DO NOT BEAT. You will notice a deep hollow tone as the batter fills with bubbles and doubles in bulk.
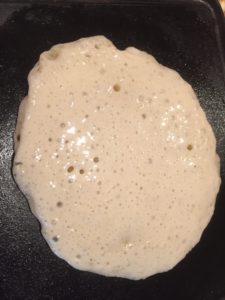
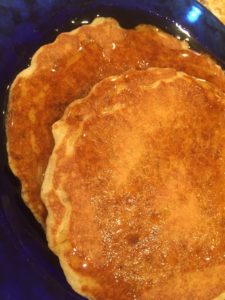
- Bake on hot griddle to "seal brown". Serve on hot plates with plenty of pure maple syrup.

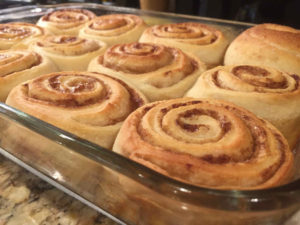
Spectacular Sourdough Cinnamon Rolls
Ingredients
Dough
- 1 cup active sourdough starter
- ¼ cup warm water
- ¼ cup warm milk
- 4 cups all-purpose flour preferably unbleached
- ⅓ cup granulated sugar
- ¼ cup unsalted butter melted
- 1 ex-large egg
- 1 tsp kosher salt
Filling
- ¼ cup unsalted butter melted
- ½ cup granulated sugar
- ½ cup brown sugar
- 1 tbsp ground cinnamon
Egg Wash
- 1 ex-large egg
- 2 tsp heavy cream
Instructions
Dough
- In a mixer bowl, combine sourdough starter, water, milk and 2 cups of the flour. Mix to form a thick batter.Cover the bowl and set aside to rise for 30 minutes
- Add the sugar, melted butter, egg and salt and mix to combine. Change to a dough hook and with mixer on low, add the remaining flour, ½ cup at a time. The dough should be soft and elastic and able to clear the sides of the bowl and gather on the hook. Knead for 2-3 minutes.
- Transfer the dough to lightly oiled bowl, turning once to coat the dough. Cover the bowl and set aside at room temperature. After 30 minutes, uncover the bowl and lift one side of the dough over into the middle of the dough. Repeat with the other three sides of the dough and then flip the dough over.Cover the bowl and after 30 minutes, repeat the procedure. Cover the bowl and after 60 minutes, repeat the procedure. Cover the bowl and after 60 more minutes, repeat the procedure one last time. By now the dough should be lively, elastic and airy. If the dough is still sluggish, give it another hour or two at room temperature.
Assemble and bake
- Generously brush a 9"x13" baking pan with some of the melted butter, reserve the rest. In a small bowl, combine the sugars and cinnamon.Turn the dough out onto a floured surface without kneading out the air. Roll the dough to a 18"x16" rectangle. Generously brush the surface of the dough with the egg wash to get a good coating for the cinnamon sugar to stick to.Sprinkle the cinnamon sugar mixture evenly over the egg washed dough, using your hands to smooth the layer all the way to the edges of the dough.Working from the long side, tightly roll the dough into a log, pinching the seam to seal.Straighten out the log so it's of even thickness and is 18" long.
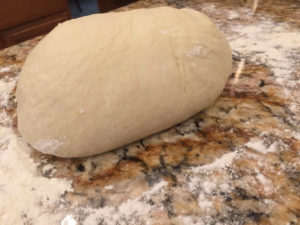
- Use a serrated knife to cut the log into twelve 1.5" wide rolls. Place the rolls in the prepared pan and generously brush the tops of the rolls with the melted butter.
- Cover and allow the rolls to proof at room temperature until they're puffy and almost filling the pan, about 2 hours. The exact time needed for proofing will vary depending on how active your starter was and the temperature of your room.
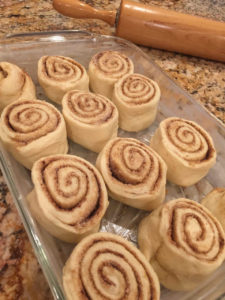
- Set pan of buns in a preheated 375°F oven and bake until they're lightly browned and set in the center, 25-30 minutes.Frost with your favorite icing while the rolls are still warm.
